
Quick Overview
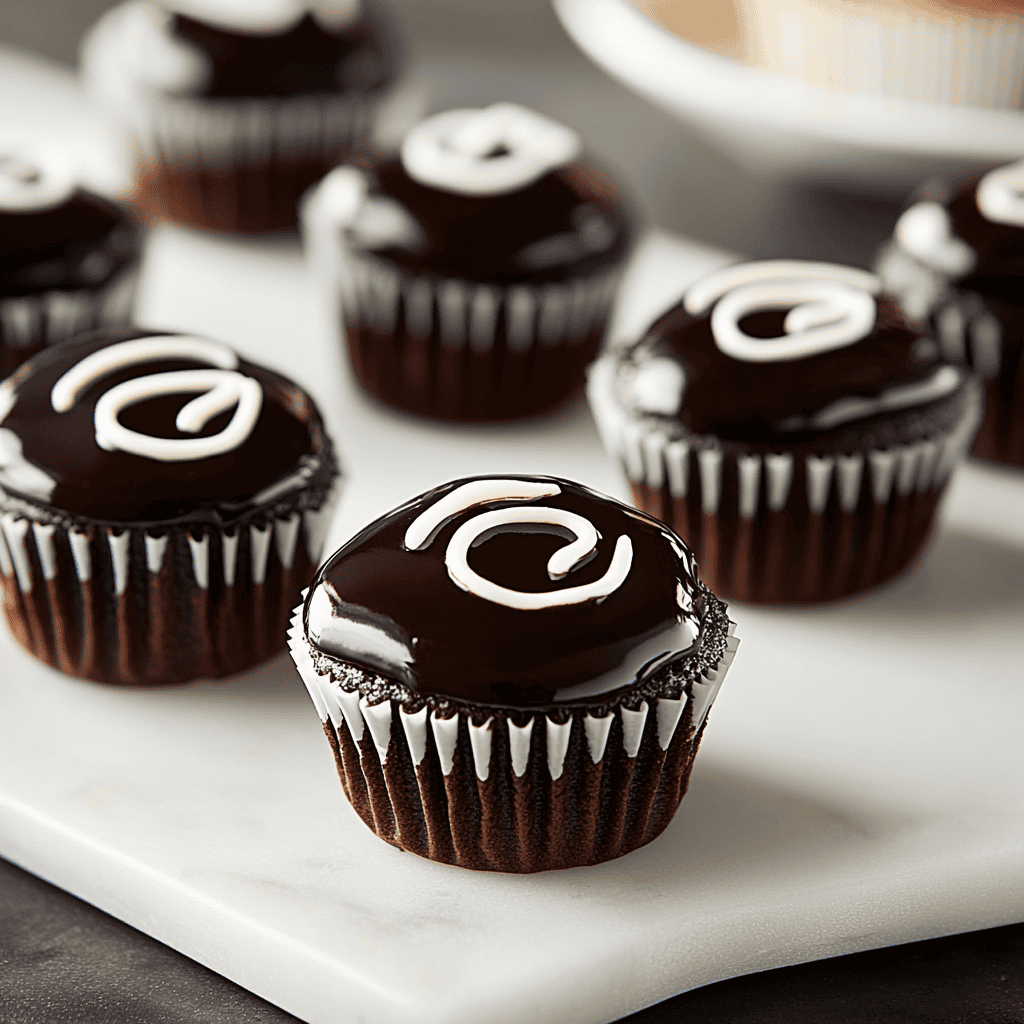
Homemade Hostess Cupcakes are a delightful treat that many people remember fondly from their childhood. These moist chocolate cakes are filled with a creamy center and topped with a glossy chocolate ganache. Making these cupcakes at home is not only fun but also allows you to customize the flavors and ingredients to your liking. In this article, we will guide you through an easy-to-follow recipe that captures the essence of the beloved store-bought version while offering a fresher taste and healthier options. The combination of rich chocolate cake and sweet cream filling makes for an irresistible dessert perfect for parties or simply enjoying at home. Whether you’re hosting a gathering or looking for a special after-dinner treat, these Homemade Hostess Cupcakes will impress everyone around you. Get ready to whip up a batch of these nostalgic delights that are sure to bring smiles to faces young and old!
Ingredient Breakdown
– **All-purpose flour (1 ¾ cups)**: This provides the structure needed for the cupcakes. Use quality flour to ensure fluffy results.
– **Granulated sugar (1 cup)**: Sugar adds sweetness and moisture to the cupcakes. It also helps in creating that tender texture.
– **Cocoa powder (¾ cup)**: Unsweetened cocoa powder gives the cupcakes their rich chocolate flavor. Make sure to sift it before use for even mixing.
– **Baking soda (1 teaspoon)**: This leavening agent helps the cupcakes rise perfectly during baking.
– **Salt (½ teaspoon)**: Salt enhances the flavors in baked goods and balances sweetness.
– **Eggs (2 large)**: Eggs provide moisture and act as binders in the cupcake batter.
– **Milk (1 cup)**: Whole milk adds richness and contributes to a moist texture.
– **Vegetable oil (½ cup)**: Oil keeps the cupcakes soft and tender, preventing them from drying out.
– **Vanilla extract (2 teaspoons)**: Vanilla gives an aromatic flavor that complements the chocolate beautifully.
Step By Step Recipe : Homemade Hostess Cupcakes
1. Preheat your oven to 350°F (175°C) and line a muffin tin with cupcake liners. This ensures easy removal after baking.
2. In a large mixing bowl, combine all-purpose flour, granulated sugar, cocoa powder, baking soda, and salt. Whisk them together until blended well.
3. Create a well in the center of your dry ingredients; then add eggs, milk, vegetable oil, and vanilla extract. Mix until just combined but do not overmix.
4. Fill each cupcake liner about two-thirds full with batter. Bake in the preheated oven for approximately 18-20 minutes or until a toothpick inserted comes out clean.
5. While baking, prepare your cream filling by beating together softened butter, powdered sugar, milk, and vanilla extract until smooth and creamy.
6. Allow the baked cupcakes to cool completely on a wire rack before filling them with cream.
7. To fill each cupcake, use a piping bag fitted with a small round tip; insert into the center of each cupcake and squeeze gently to fill.
8. For the ganache topping, heat heavy cream until just simmering; pour it over chopped chocolate in a bowl and let it sit before stirring until smooth.
9. Once cooled, dip each filled cupcake into the ganache allowing excess to drip off before placing them back on wire racks.
10. Finally, pipe decorative swirls of cream on top of each cupcake using leftover filling for an authentic touch.

Serving and Storing Tips
Serving Suggestions
Homemade Hostess Cupcakes are best served fresh but can also be presented elegantly at gatherings or parties. Place them on a decorative platter or serve individually on dessert plates alongside coffee or tea for an afternoon treat. Their rich flavors pair well with vanilla ice cream or whipped cream if you desire extra indulgence.
Storage Instructions
To store your homemade cupcakes effectively, place them in an airtight container at room temperature for up to three days or refrigerate them for up to one week if you prefer cooler treats. If freezing is necessary, wrap each cupcake individually in plastic wrap followed by aluminum foil; they can last up to three months frozen without losing their flavor or texture when thawed properly at room temperature before serving.
Enjoy making these delightful Homemade Hostess Cupcakes! They are sure to become a favorite in your household!
Mistakes to avoid
When making Homemade Hostess Cupcakes, avoid overmixing the batter. Overmixing can lead to dense cupcakes instead of light and fluffy ones. Mix just until the ingredients are combined to maintain that perfect texture.
Another common mistake is not measuring ingredients accurately. Baking is a science, and precise measurements are crucial for success. Use weighing scales for dry ingredients and liquid measuring cups for wet ones to ensure consistency in your baked goods.
Don’t forget to let your cupcakes cool completely before frosting them. Frosting warm cupcakes can cause the icing to melt and lose its shape, ruining the overall presentation and taste of your Homemade Hostess Cupcakes.
Using low-quality cocoa powder can also compromise flavor. Invest in high-quality cocoa to achieve rich chocolate notes in your cupcakes. A good cocoa powder will elevate the taste and make your treat truly delicious.
Lastly, be cautious with baking times. Every oven is different, so start checking your cupcakes a few minutes early. Overbaking can dry them out, while underbaking might leave you with a gooey center.

Tips and tricks
To create perfect Homemade Hostess Cupcakes, use room temperature ingredients. Eggs, butter, and milk should be at room temperature for better mixing and a smoother batter. This tip helps contribute to an even bake and superior texture.
Incorporating a pinch of salt into your frosting can enhance flavor significantly. Salt balances sweetness and brings out the richness of chocolate, making each bite more enjoyable.
Consider using a piping bag for frosting your cupcakes. This method gives you greater control over the amount of frosting applied on each cupcake, ensuring a professional-looking finish. You can create different designs by using various nozzle tips.
For added fun, try experimenting with flavors in your filling or frosting. Instead of traditional vanilla, consider using flavored extracts like almond or mint to add depth to your Homemade Hostess Cupcakes.
Lastly, always store your cupcakes properly. Keep them in an airtight container at room temperature or refrigerate if you live in a warm climate. This practice will keep them fresh longer while maintaining their delightful texture.
Suggestions for Homemade Hostess Cupcakes
Use high-quality chocolate cake mix as a base if you want convenience without sacrificing flavor in your Homemade Hostess Cupcakes. Many brands offer delicious mixes that deliver moisture and richness when baked correctly.
For an extra touch of indulgence, try adding mini chocolate chips into the batter before baking. This addition enhances the chocolate flavor and creates delightful pockets of melted chocolate throughout the cupcake.
Make sure to whip your frosting until it reaches a light and airy consistency. A well-aerated frosting not only tastes better but also looks more appealing when piped onto your cupcakes.
Consider adding toppings like sprinkles or crushed nuts on top of the frosting for added texture and visual appeal. These toppings complement the rich flavors of your Homemade Hostess Cupcakes while providing contrast in each bite.
If you’re feeling adventurous, think about creating themed versions for holidays or special occasions by incorporating food coloring into the frosting or customizing flavors according to seasonal themes.

FAQs
What are the main ingredients needed for Homemade Hostess Cupcakes?
To make Homemade Hostess Cupcakes, you’ll need all-purpose flour, unsweetened cocoa powder, sugar, eggs, butter, milk, baking powder, vanilla extract, and salt for the cake base. For the filling and frosting, you’ll typically require marshmallow fluff or cream filling along with buttercream icing made from powdered sugar and cocoa powder.
How long do Homemade Hostess Cupcakes last?
Homemade Hostess Cupcakes can last up to 3-4 days at room temperature when stored in an airtight container. If you refrigerate them, they may stay fresh for about a week but could dry out slightly due to refrigeration conditions; ensuring proper storage is essential for maintaining moisture.
Can I freeze my Homemade Hostess Cupcakes?
Yes! You can freeze Homemade Hostess Cupcakes without any issues. Wrap each cupcake tightly in plastic wrap or aluminum foil before placing them in an airtight container or freezer bag. They can last up to three months in the freezer; just thaw them overnight before serving.
Is it possible to make gluten-free Homemade Hostess Cupcakes?
Absolutely! Substitute regular all-purpose flour with gluten-free flour blends specifically designed for baking. Ensure other ingredients like baking powder are also gluten-free certified to avoid cross-contamination while preparing delicious gluten-free Homemade Hostess Cupcakes.
How do I achieve a fluffy texture in my cupcakes?
Achieving a fluffy texture involves creaming butter and sugar together until light and aerated before adding other ingredients like eggs or flour gradually; this process incorporates air into the batter resulting in lighter cupcakes during baking which enhances overall texture significantly.
Can I use different fillings for my Homemade Hostess Cupcakes?
Yes! While traditional recipes often call for marshmallow fluff as filling, feel free to experiment with alternatives like whipped cream cheese frosting or flavored custards such as lemon curd or raspberry preserves; these additions can create exciting variations of classic flavors!
Summary
In summary, making homemade hostess cupcakes involves avoiding common mistakes such as overmixing batter and improper ingredient measurements while employing helpful tips like using room temperature components and experimenting with flavors. With careful attention to detail including storage methods after baking ensures freshness while allowing creative variations enhances enjoyment further!