
Quick Overview
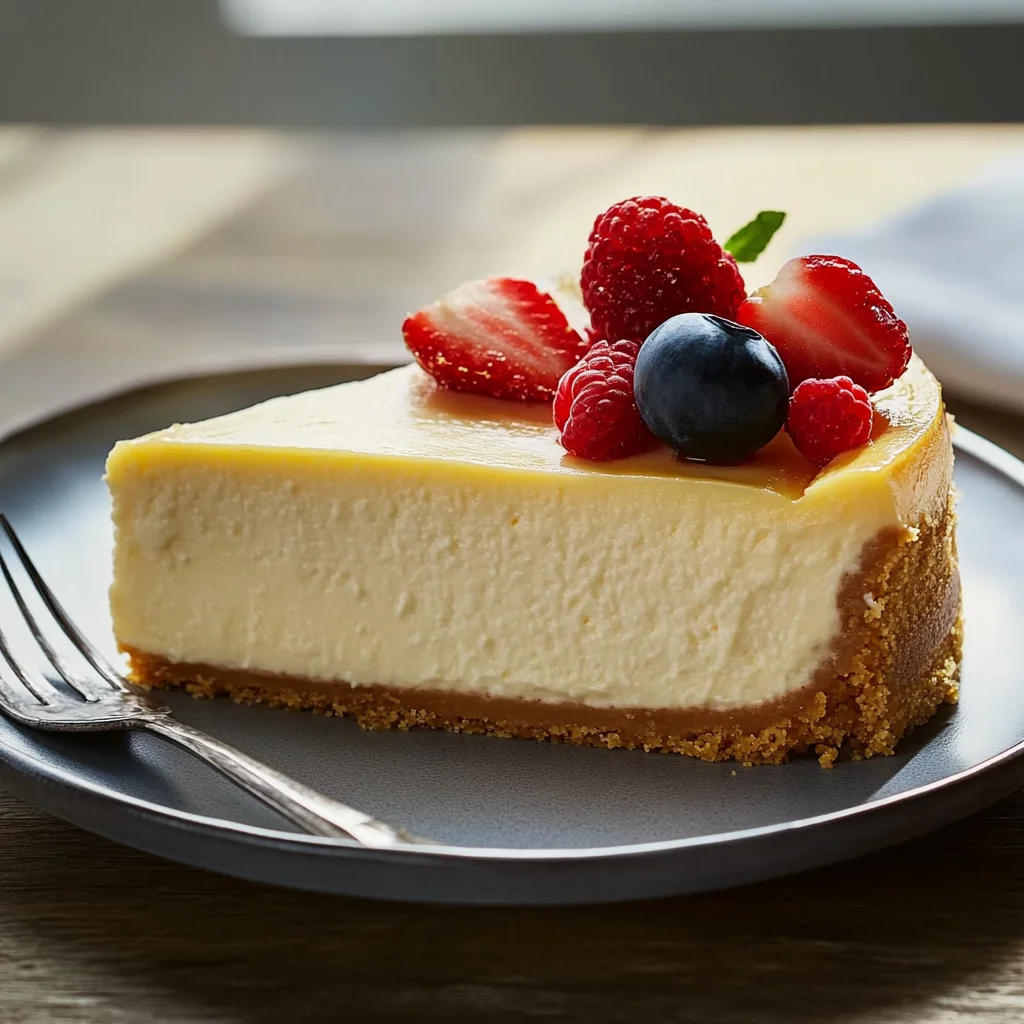
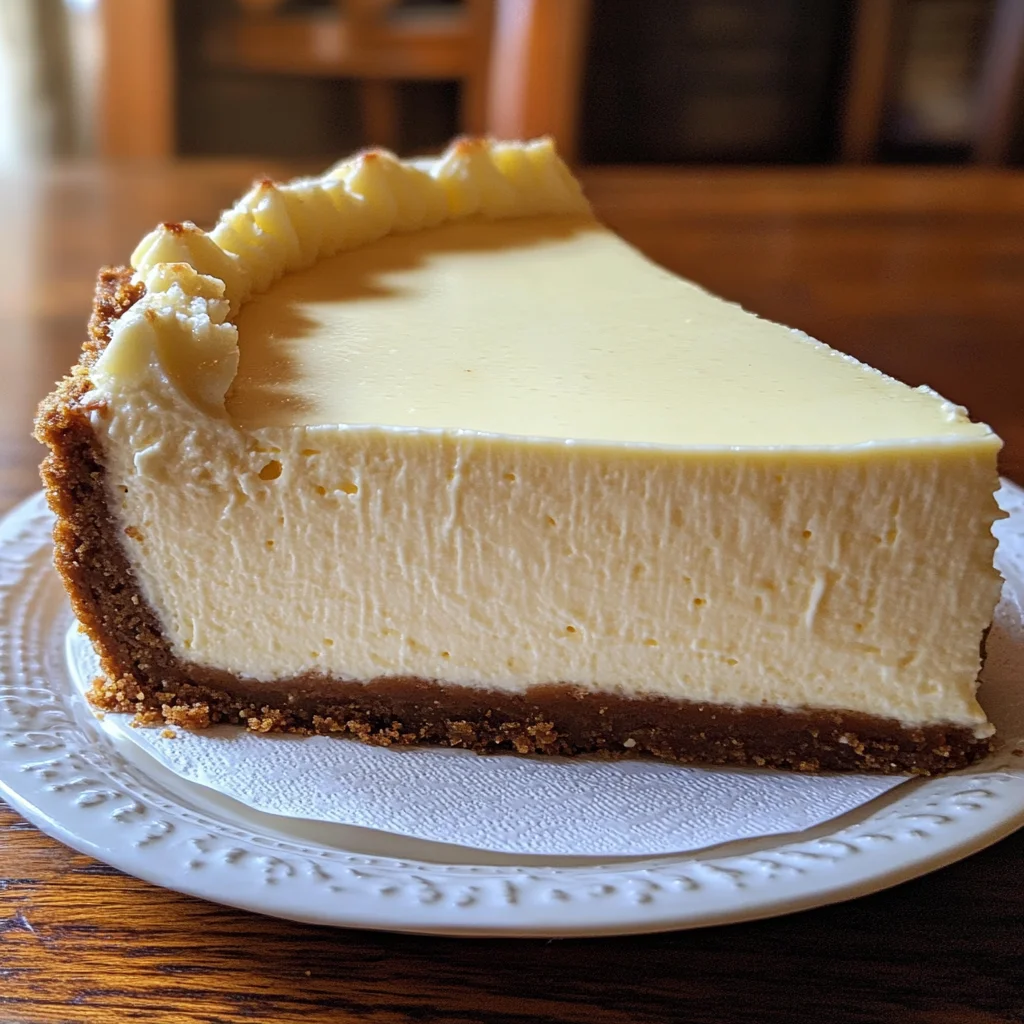
Every family has cherished recipes that bring warmth and nostalgia to the table, and none does this quite like Grandmother’s cheesecake. This delightful dessert captures the essence of home cooking and delightful gatherings. With its creamy texture and buttery crust, every bite is a reminder of those special moments spent in the kitchen with loved ones. In this article, you will learn how to make this classic cheesecake from scratch using simple ingredients that yield extraordinary flavor.
Ingredient Breakdown
Cream Cheese
To achieve that rich and smooth texture typical of Grandmother’s cheesecake, you will need 24 ounces (three 8-ounce packages) of full-fat cream cheese. Make sure it’s softened to room temperature for easy mixing.
Granulated Sugar
You will require 1 cup of granulated sugar to sweeten the cheesecake. The sugar balances the richness of the cream cheese while adding just the right amount of sweetness.
Eggs
This recipe calls for 3 large eggs. The eggs help bind the ingredients together and contribute to the cheesecake’s creamy consistency. Ensure they are at room temperature for best results.
Sour Cream
Using 1 cup of sour cream enhances the flavor profile by adding a subtle tanginess. It also contributes to a smooth texture in your final product.
Vanilla Extract
Add 1 teaspoon of pure vanilla extract for flavoring. It elevates the overall taste and brings out the sweetness in each slice of cheesecake.
Graham Cracker Crumbs
For a delicious crust, you will need 1 and ½ cups of graham cracker crumbs. These crumbs provide a crunchy contrast to the creamy filling while absorbing moisture during baking.
Unsalted Butter
Finally, melt ½ cup (1 stick) of unsalted butter to combine with the graham cracker crumbs for your crust. The butter adds richness and helps bind everything together.
Step By Step Recipe: Grandmother’s Cheesecake
Prepare Your Oven and Pan
Preheat your oven to 325°F (160°C). Grease a 9-inch springform pan with butter or cooking spray. This ensures your cheesecake comes out easily after baking. Line the bottom with parchment paper for additional non-stick assurance.
Make the Crust
In a medium bowl, combine graham cracker crumbs and melted butter until fully mixed. Press this mixture firmly into the bottom of your prepared springform pan using either your fingers or a flat-bottomed measuring cup. Bake for about 10 minutes until golden brown and fragrant; then let it cool while preparing filling.
Mix Cream Cheese and Sugar
In a large mixing bowl, beat softened cream cheese with an electric mixer until smooth and fluffy. Gradually add granulated sugar while continuing to mix until well combined without lumps remaining—this may take about 2 minutes on medium speed.
Add Eggs One at a Time
Add eggs one at a time into the cream cheese mixture, beating well after each addition. This step is crucial as it helps incorporate air into the batter while ensuring each egg is fully integrated before adding another one.
Incorporate Sour Cream and Vanilla
Once all eggs are added, gently fold in sour cream and vanilla extract until just combined. Avoid overmixing at this stage; you want a smooth batter without incorporating too much air that could lead to cracks during baking.
Pour Filling Over Crust
Carefully pour your cream cheese filling over the cooled crust in the springform pan using a spatula for even distribution. Gently tap the pan against your counter to release any air bubbles trapped in the batter before placing it in the oven.
Bake Your Cheesecake
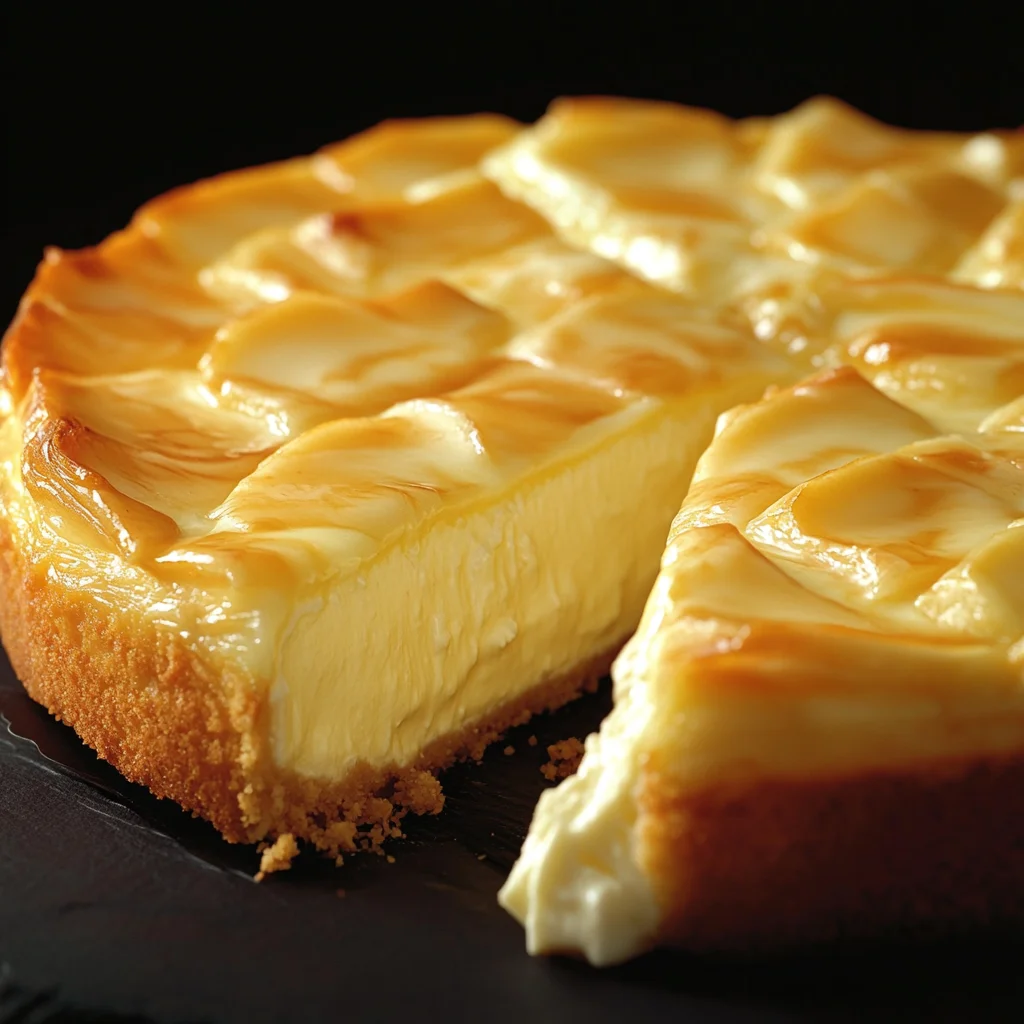
Bake in preheated oven for about 60 minutes or until edges are set but center still has slight jiggle when shaken gently. Turn off heat while leaving cheesecake inside oven for an hour; this helps prevent cracking due to rapid temperature changes as it cools down slowly.
Cool Down Properly
Remove from oven after an hour and let it cool completely at room temperature before refrigerating overnight or at least four hours before slicing into pieces—this step is critical for achieving perfect slices!
Serving and Storing Tips
Serve Chilled
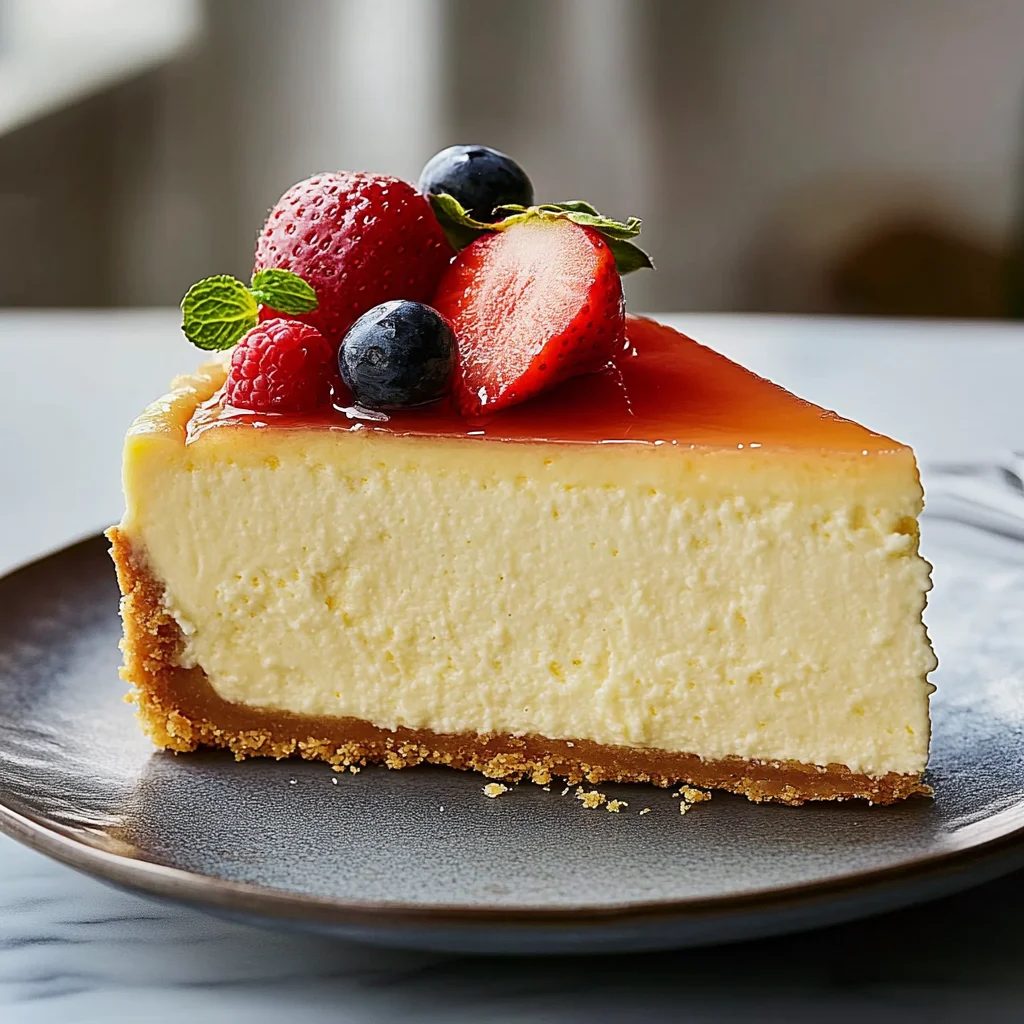
For best flavor and texture, serve slices chilled directly from refrigerator! You can top each slice with fresh fruit or whipped cream if desired but keep it simple to enjoy true essence of Grandmother’s cheesecake!
Store Leftovers Properly
Place leftover slices in airtight container in refrigerator where they can last up to one week! If freezing is necessary wrap tightly in plastic wrap followed by aluminum foil; they can be frozen up to two months without losing quality when thawed properly later on.
With these simple steps, you can recreate that beloved family treasure—the timeless Grandmother’s cheesecake—bringing joy not just through flavors but memories tied forever within every delicious bite!
Mistakes to avoid
One common mistake people make when preparing Grandmother’s Cheesecake is not using room temperature ingredients. Cold cream cheese can lead to a lumpy texture, making your cheesecake less smooth and creamy. Always allow your cream cheese and other dairy products to sit out for at least 30 minutes before mixing. This small step significantly improves the final consistency of your cheesecake.
Another frequent error is overmixing the batter. While you want to incorporate all ingredients well, too much mixing can introduce excess air, resulting in cracks on the surface as it bakes. Mix just until combined and maintain a gentle hand to keep your cheesecake silky smooth without creating unwanted air pockets.
Failing to prepare the pan properly is another pitfall. Greasing or lining the bottom and sides of your springform pan helps prevent sticking and ensures easy removal after baking. Use parchment paper for added protection against sticking, while greasing with butter or cooking spray prevents any unwanted mess when serving.
Many overlook the importance of chilling their cheesecake adequately after baking. Skipping this crucial step can result in a soft and unstable structure that doesn’t hold up when sliced. Allow your dessert to cool at room temperature first, then refrigerate for at least four hours or overnight for optimal firmness and flavor development.
Finally, not paying attention to baking time can ruin your Grandmother’s Cheesecake. Each oven behaves differently, so check for doneness early by gently shaking the pan. The center should be slightly wobbly but not liquid. Overbaking leads to dryness, while underbaking leaves you with an unset filling that won’t slice neatly.
Tips and tricks
To achieve the perfect Grandmother’s Cheesecake, start by using high-quality ingredients. Fresh cream cheese can make a noticeable difference in flavor and texture compared to store brands or off-brands that may contain fillers. Look for full-fat cream cheese for the richest taste, as low-fat varieties often compromise creaminess and overall satisfaction.
Consider adding a layer of flavor by incorporating lemon juice or vanilla extract into your batter. A splash of lemon juice enhances the sweetness while balancing the richness of the cheesecake. Vanilla extract adds depth and warmth, elevating this classic dessert from ordinary to extraordinary with minimal effort.
When baking your cheesecake, create a water bath by placing your springform pan in a larger roasting pan filled with hot water. This technique helps regulate temperature during baking and prevents cracking on the surface by providing moisture in the oven environment. Additionally, it allows even heat distribution throughout the cheesecake for consistent results.
After baking, resist the temptation to open the oven door frequently as this can cause temperature fluctuations leading to cracks. Instead, turn off the oven once done and leave the cheesecake inside with the door slightly ajar for about an hour before transferring it to cool completely at room temperature.
Lastly, consider using different toppings or crusts for variation in flavors. Traditional graham cracker crust is delightful but experimenting with chocolate cookie crust or adding fresh fruit toppings like berries can add new dimensions of flavor that complement Grandmother’s Cheesecake beautifully.
Suggestions for Grandmother’s Cheesecake
If you want to further enhance your Grandmother’s Cheesecake experience, try pairing it with fruit compote or caramel sauce. A berry compote made from fresh strawberries or blueberries adds a refreshing contrast to the rich filling while providing a vibrant color contrast on the plate.
For those who enjoy added texture, sprinkle crushed nuts like pecans or walnuts on top before serving. This not only adds crunch but also introduces an appealing nutty flavor that complements cheesecake well without overwhelming its creamy essence.
When storing leftovers, make sure you wrap slices tightly in plastic wrap or place them in an airtight container before refrigerating. Proper storage helps maintain freshness while preventing any off-flavors from other foods in your fridge from affecting your delicious dessert.
If you’re looking for a gluten-free option, consider substituting traditional graham crackers with gluten-free cookies for your crust. Almond flour-based cookies work wonderfully as they provide a nice nutty flavor that goes well with cheesecake while catering to those avoiding gluten.
Lastly, sharing this dessert makes it more enjoyable! Invite friends over for coffee and serve slices of Grandmother’s Cheesecake alongside brewed beverages like espresso or herbal tea; this creates an inviting atmosphere perfect for enjoying sweet treats together.
FAQs
What makes Grandmother’s Cheesecake unique?
Grandmother’s Cheesecake often stands out due to its rich history and traditional methods passed down through generations. The specific combination of ingredients used typically reflects family preferences and regional variations that give it character distinct from commercial cheesecakes found elsewhere.
Can I use low-fat cream cheese instead of full-fat?
While it’s possible to use low-fat cream cheese in Grandmother’s Cheesecake recipes, keep in mind that this substitution may alter both taste and texture significantly. Full-fat cream cheese provides richer flavors along with better creaminess which contributes greatly toward achieving that perfectly smooth consistency everyone loves.
How long should I let my cheesecake cool before refrigerating?
After baking Grandmother’s Cheesecake, allow it to cool at room temperature first—typically about one hour—before transferring it into the refrigerator. Chilling overnight produces optimal results since flavors meld beautifully during this resting period allowing each bite bursting forth with deliciousness!
Can I freeze leftover slices of cheesecake?
Yes! You can freeze leftover pieces of Grandmother’s Cheesecake safely if wrapped tightly in plastic wrap followed by aluminum foil or placed inside an airtight container designed specifically for freezing food items; this will help preserve its quality when thawed later on!
What are some common toppings for cheesecakes?
Common toppings include whipped cream garnished with fresh fruits like strawberries, blueberries, raspberries—or perhaps drizzles made from chocolate syrup/caramel sauce complimenting layers within their desserts such as chocolate chips/nuts sprinkled atop enhancing visual appeal!
Why do cheesecakes crack while baking?
Cheesecakes often crack due primarily due fluctuating temperatures caused by rapid heat changes during cooking processes; utilizing water baths helps manage these issues effectively ensuring even heat distribution throughout creating wonderfully creamy centers without unsightly surface cracks forming!
Summary
In summary, making Grandmother’s Cheesecake requires attention to detail from ingredient selection through proper cooling techniques post-baking process creation methods employed along each step taken will determine overall success rate experienced upon indulging finally enjoying this timeless favorite! Remember key tips: ensure room temperature ingredients blend gently together avoid overmixing utilize water baths preserve moisture throughout bake cycle chill thoroughly enjoy sharing delicious moments bringing loved ones together around tables filled laughter happiness sweet memories created through every slice enjoyed!