
Quick Overview
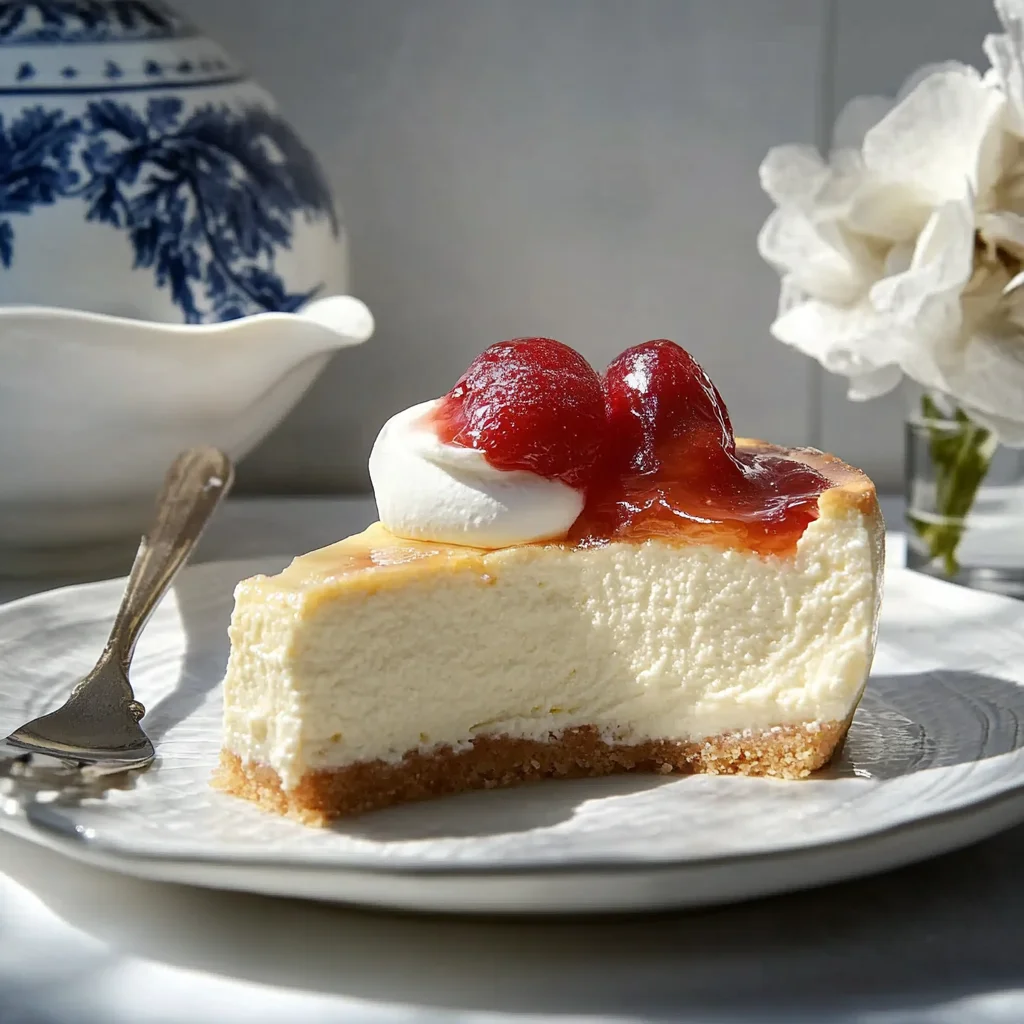
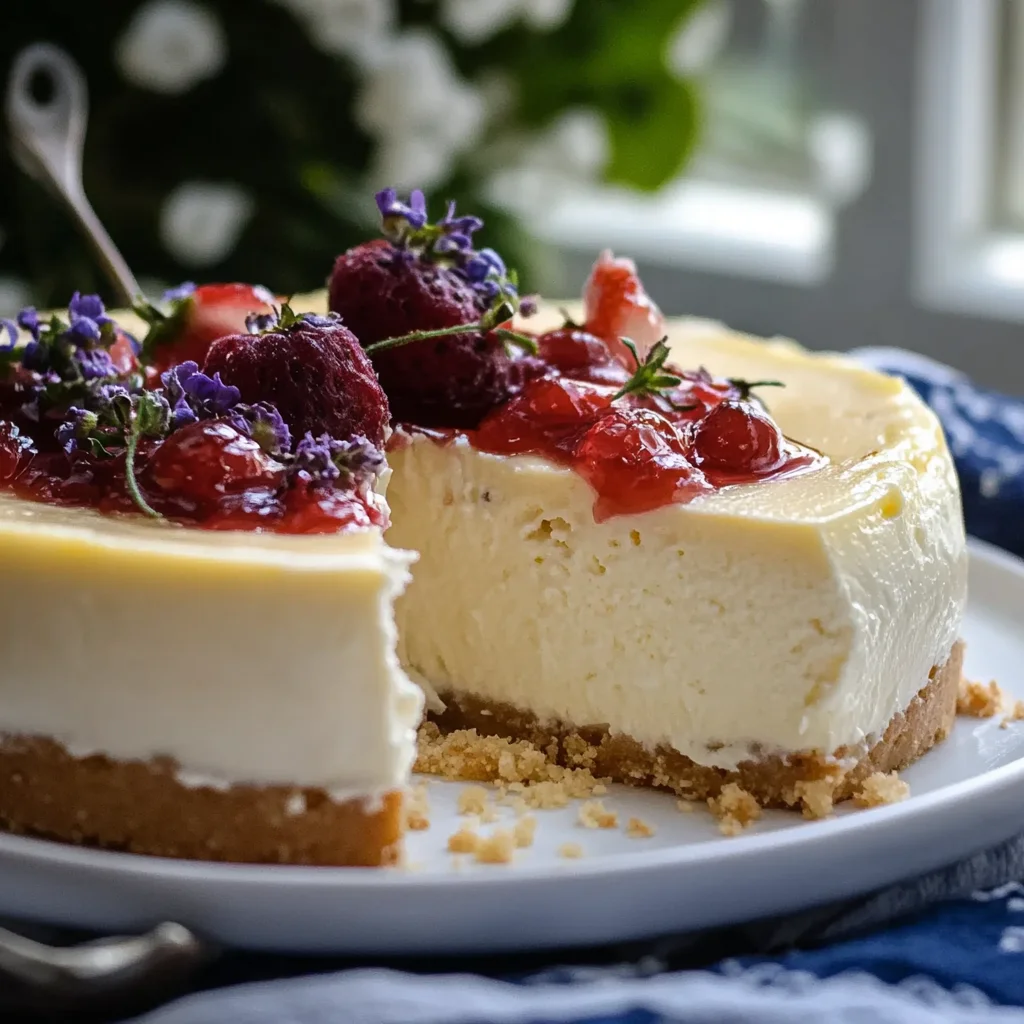
If you crave a dessert that combines the richness of cream cheese with the lightness of ricotta, then this Italian Cream Cheese and Ricotta Cheesecake is the answer. This delightful treat boasts a velvety texture and a subtly sweet flavor that makes it perfect for any occasion. Whether it’s a family gathering or a special celebration, this cheesecake will impress your guests and leave them asking for seconds.
Ingredient Breakdown
H4: Cream Cheese
For this recipe, you will need 16 ounces (two packages) of full-fat cream cheese. Make sure it’s softened to room temperature for easier mixing. The cream cheese adds a rich and creamy base that forms the heart of this cheesecake.
H4: Ricotta Cheese
You will need 15 ounces of whole milk ricotta cheese. This ingredient contributes to the lightness and fluffiness of the cheesecake while enhancing its flavor profile with a slightly sweet touch.
H4: Granulated Sugar
Use 1 cup of granulated sugar to sweeten the batter. Sugar balances the richness of the cheeses while adding a delightful sweetness that complements the overall flavor.
H4: Eggs
Incorporate three large eggs into your mixture. The eggs act as binders that help set the cheesecake during baking while providing additional moisture to keep it from drying out.
H4: Vanilla Extract
A teaspoon of pure vanilla extract enhances the flavor of your cheesecake. It adds warmth and depth, making every bite even more delicious.
H4: Lemon Zest
One tablespoon of fresh lemon zest brightens up the entire dish. The citrus notes cut through the richness, adding freshness that elevates your cheesecake experience.
H4: Graham Cracker Crust
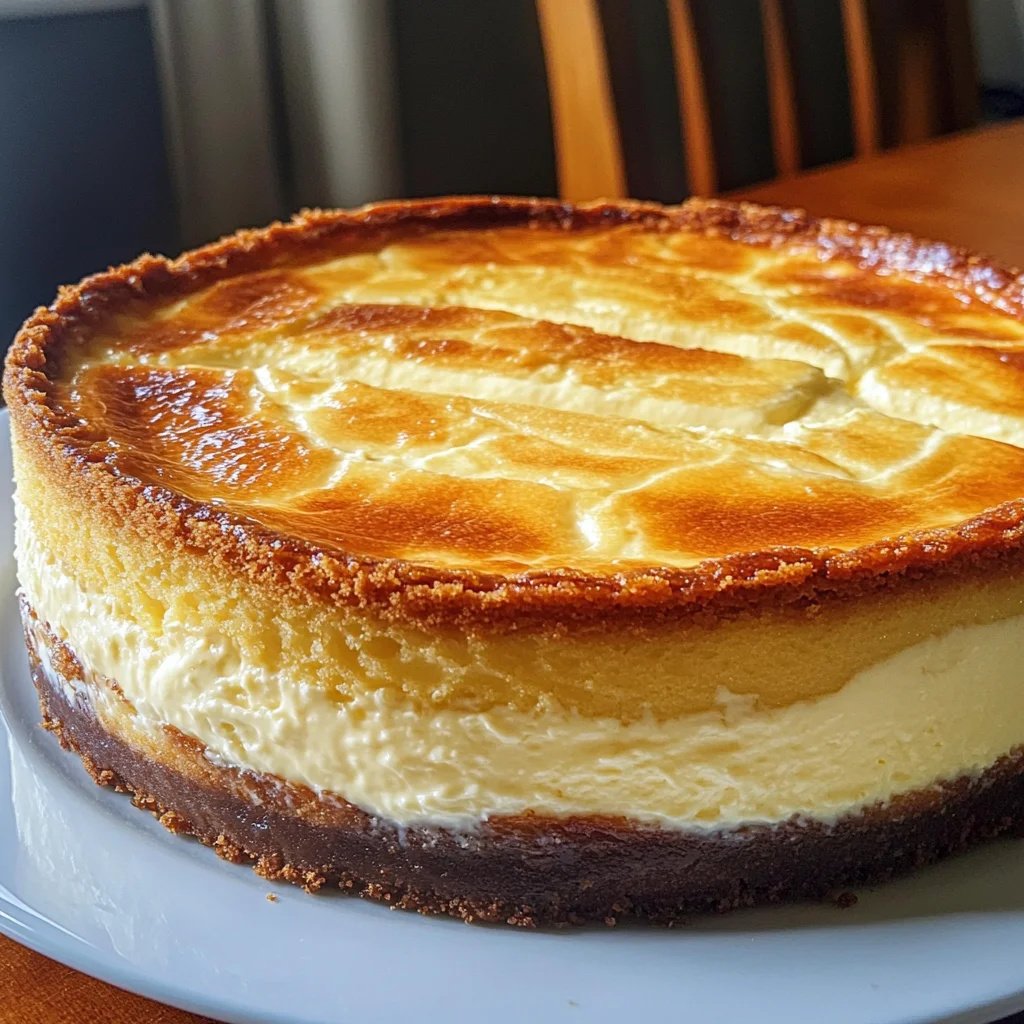
Prepare a crust using 1 ½ cups of crushed graham crackers mixed with ½ cup melted butter and ¼ cup sugar. This combination creates a crunchy base that contrasts beautifully with the creamy filling.
Step By step Recipe: Italian Cream Cheese and Ricotta Cheesecake
H4: Prepare Your Oven
Begin by preheating your oven to 325°F (163°C). This temperature is ideal for baking cheesecakes as it allows for even cooking without cracking on top.
H4: Make the Crust
In a mixing bowl, combine 1 ½ cups crushed graham crackers with ½ cup melted butter and ¼ cup sugar until well blended. Press this mixture firmly into the bottom of a springform pan to form an even layer. Bake for about 10 minutes or until lightly golden, then remove from oven to cool.
H4: Mix Cheeses
In another large bowl, beat together softened cream cheese and ricotta cheese until smooth using an electric mixer on medium speed. Scrape down sides frequently for an even mixture without lumps.
H4: Add Sugar and Flavorings
Gradually add in 1 cup granulated sugar while continuing to mix on medium speed until fully incorporated. Then mix in one teaspoon vanilla extract and one tablespoon lemon zest until just combined.
H4: Incorporate Eggs
Add three large eggs one at a time into the cheese mixture. Beat gently after each addition until smooth but be careful not to overmix as this can introduce air bubbles leading to cracks during baking.
H4: Pour Filling Into Crust
Pour the cream cheese mixture over your cooled graham cracker crust in the springform pan. Smooth out the top using a spatula so that it bakes evenly without any peaks or holes.
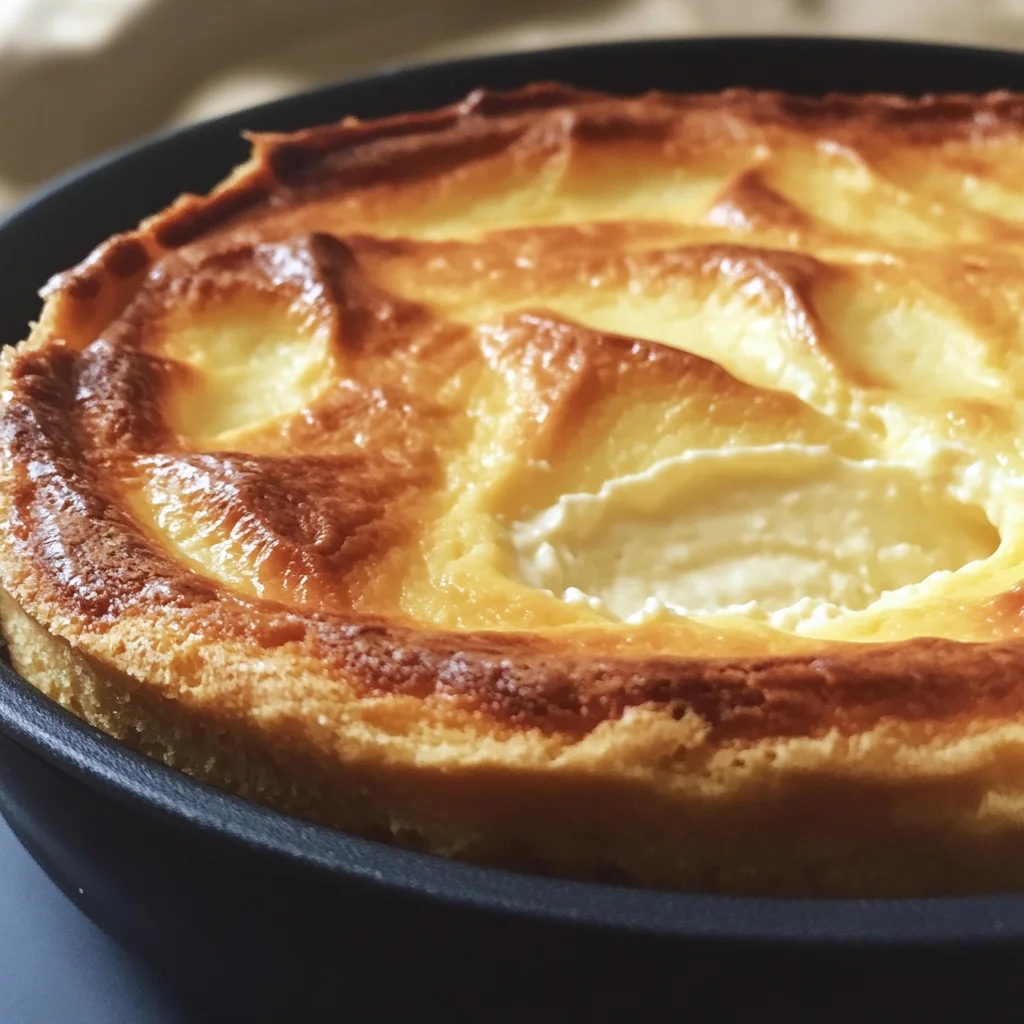
H4: Bake the Cheesecake
Place your cheesecake in the preheated oven on the middle rack. Bake for about 50-60 minutes or until set around edges but slightly jiggly in center; it will firm up as it cools.
H4: Cool Down
Once baked, turn off the oven but leave your cheesecake inside with the door ajar for about an hour. This gradual cooling helps prevent cracks from forming on top due to sudden temperature changes.
H4: Chill Before Serving
After cooling at room temperature, cover with plastic wrap and refrigerate for at least four hours or overnight if possible. Chilling enhances flavors while ensuring a perfect texture when serving.
Serving and Storing Tips
H4: Serving Suggestions
Serve slices chilled directly from the fridge for optimal taste. Consider topping each slice with fresh berries or a drizzle of chocolate sauce for added flair!
H4: Storage Guidelines
Store any leftover cheesecake in an airtight container in your refrigerator for up to five days. If you prefer longer storage options, consider freezing individual slices wrapped tightly in plastic wrap followed by foil; they can last up to two months frozen!
This Italian Cream Cheese and Ricotta Cheesecake is sure to become a favorite among family and friends alike! Enjoy creating this delicious dessert that brings joy to any table.
Mistakes to avoid
One common mistake is using low-quality ingredients. When making an Italian Cream Cheese and Ricotta Cheesecake, the quality of your cheese directly influences the taste. Always choose fresh, high-quality cream cheese and ricotta for the best flavor and texture.
Another mistake is not properly preparing the crust. A soggy or overly crumbly crust can ruin your cheesecake. Make sure to bake it long enough to set before adding the filling.
Overmixing the batter is also a frequent error. This can lead to a dense cheesecake rather than a light, airy one. Mix just until combined to maintain that creamy texture.
Failing to let the cheesecake cool gradually can cause cracks on the surface. After baking, turn off the oven and leave the door slightly ajar for an hour before removing it. This step helps prevent sudden temperature changes.
Lastly, skipping the chilling time can compromise your cheesecake’s flavor and texture. Allow it to chill in the refrigerator for at least four hours, ideally overnight, for optimal results.

Tips and tricks
When making Italian Cream Cheese and Ricotta Cheesecake, start by preheating your oven correctly. An accurate temperature ensures even baking. Use an oven thermometer if necessary to confirm that your oven reaches and maintains the correct temperature throughout baking.
Consider using a water bath during baking. This technique helps regulate temperature and adds moisture to the environment, resulting in a creamier texture without cracks. To do this, wrap your springform pan in aluminum foil and place it in a larger roasting pan filled with hot water.
Always room-temperature ingredients yield better results. Let the cream cheese, ricotta, and eggs sit out for about 30 minutes before mixing them together. This helps achieve a smoother batter that blends easily without lumps.
Experiment with flavors by adding citrus zest or extracts into your batter. Lemon zest or vanilla extract complements the rich flavors beautifully while giving your cheesecake a unique twist.
Finally, decorate your cheesecake with fresh fruit or chocolate shavings right before serving for added appeal. A simple topping enhances presentation while providing contrasting textures that elevate each bite.
Suggestions for Italian Cream Cheese and Ricotta Cheesecake
To enhance your Italian Cream Cheese and Ricotta Cheesecake, consider pairing it with seasonal fruits like berries or peaches for a refreshing touch. These fruits add both color and flavor that complement the creamy base perfectly.
If you prefer a chocolate version, incorporate cocoa powder into your batter or create a chocolate ganache topping. The richness of chocolate pairs well with the smoothness of cream cheese.
For added crunch, sprinkle crushed amaretti cookies over the top before serving. They provide delightful texture while adding an authentic Italian flair to your dessert.
You might also want to experiment with different crust options beyond graham crackers—try crushed biscotti or almond flour for a unique base that adds depth to your desserts’ flavor profile.
Lastly, consider making mini cheesecakes in individual servings for special occasions; they are fun to serve at parties and allow guests to enjoy their own portion of this delicious treat!
FAQs
Can I substitute cream cheese with another type of cheese?
Yes, you can substitute cream cheese with mascarpone or Neufchâtel cheese for a different flavor profile in your Italian Cream Cheese and Ricotta Cheesecake. However, keep in mind that these alternatives may alter the texture slightly; mascarpone will make it richer while Neufchâtel offers lower fat content but similar taste.
How should I store leftover cheesecake?
Store leftovers of your Italian Cream Cheese and Ricotta Cheesecake in an airtight container in the refrigerator. It will keep well for up to five days when properly stored. If you want to store it longer, consider freezing slices wrapped tightly in plastic wrap followed by foil; they can last up to three months frozen.
Can I use flavored ricotta cheese?
Using flavored ricotta cheese can introduce interesting flavors into your Italian Cream Cheese and Ricotta Cheesecake! Just ensure that any added flavors complement rather than overwhelm the primary ingredients’ taste; lemon- or vanilla-flavored ricotta could work nicely here!
Why did my cheesecake crack?
Cracks often occur due to rapid temperature changes during baking or cooling phases of your Italian Cream Cheese and Ricotta Cheesecake preparation process. To avoid this issue, ensure gentle cooling by leaving it in turned-off oven after baking while keeping door ajar as mentioned earlier; also monitor baking time carefully!
Can I make this cheesecake gluten-free?
Yes! To make an Italian Cream Cheese and Ricotta Cheesecake gluten-free, simply use gluten-free graham cracker crumbs or almond flour instead of traditional cookie crumbs for the crust—as well as checking other ingredient labels carefully—ensuring they meet gluten-free standards!
How long does it take for this cheesecake to set?
Typically, an Italian Cream Cheese and Ricotta Cheesecake needs at least four hours after baking before serving; however, chilling overnight yields even better results as flavors meld beautifully while achieving ideal firmness! Patience pays off with cheesecakes like this one!
Summary
In summary, creating an excellent Italian Cream Cheese and Ricotta Cheesecake requires attention to detail regarding ingredient quality, preparation methods, and proper cooling techniques. Avoid common mistakes such as overmixing or skipping chill time while implementing tips like using room-temperature ingredients or experimenting with flavors can elevate this classic dessert further! Remember these key points when preparing yours next time!