
Quick Overview
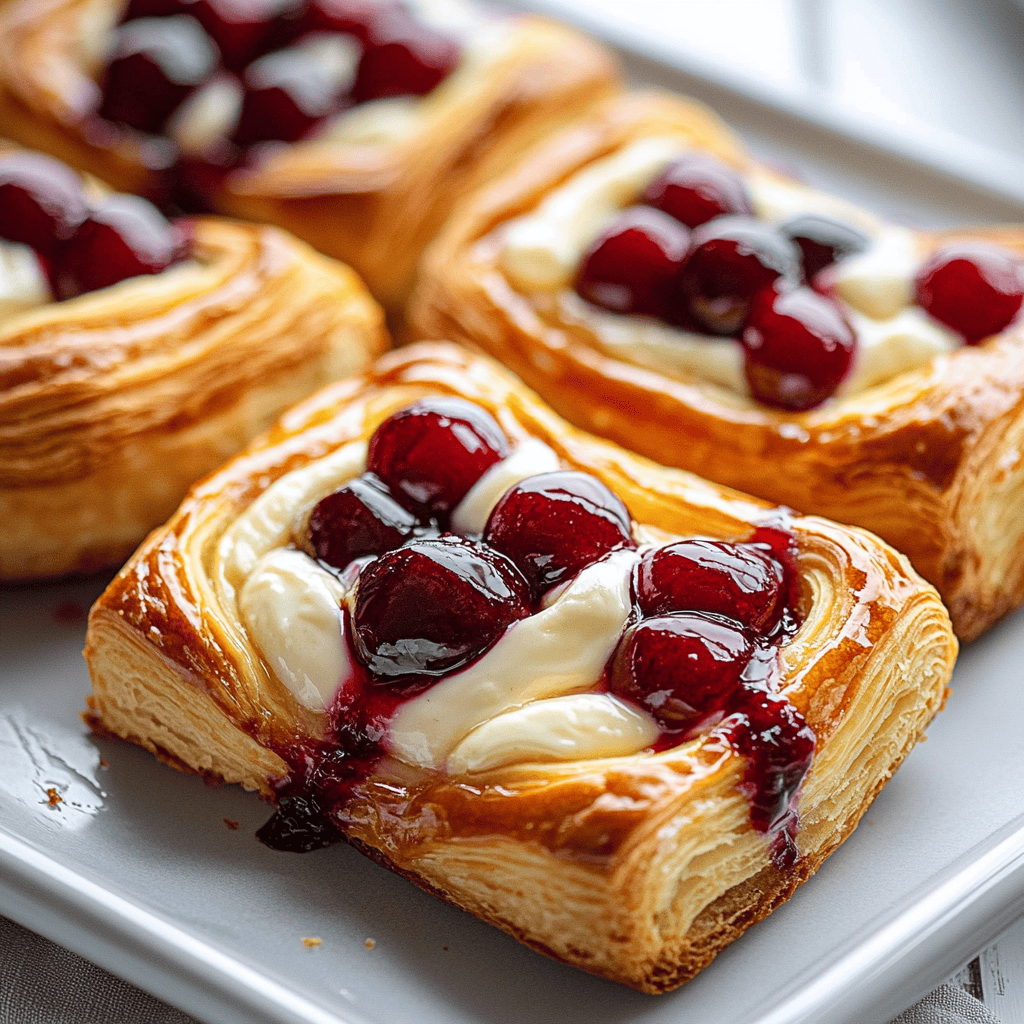
The Cherry Cream Cheese Danish is a delightful pastry that combines the flakiness of dough with the creamy richness of cream cheese and the sweetness of cherries. This delicious treat is perfect for breakfast or as a dessert. With its beautiful presentation and incredible flavor, it’s sure to impress friends and family alike. Made from simple ingredients, this recipe allows you to create a bakery-style pastry right in your kitchen.
The best part? You can easily adjust the filling to suit your taste preferences! Whether you prefer fresh cherries or a cherry pie filling, this versatile recipe caters to all. The dough comes together quickly, making it an ideal choice for both novice bakers and experienced chefs.
In just a few steps, you will have warm, gooey pastries ready to enjoy. So preheat your oven and get ready to indulge in these irresistible Cherry Cream Cheese Danishes that are not only visually appealing but also incredibly satisfying.
Ingredient Breakdown
Puff Pastry
You will need one package of puff pastry (thawed). This creates the flaky layers that make the danish light and airy.
Cream Cheese
Use 8 ounces of cream cheese (softened). It provides a creamy base for the filling and pairs well with the cherries.
Sugar
Add 1/4 cup of granulated sugar. Sugar sweetens the cream cheese mixture and balances flavors.
Vanilla Extract
Include 1 teaspoon of vanilla extract. This enhances the overall flavor of the cream cheese filling.
Cherries
Use 1 cup of pitted cherries (fresh or canned). Cherries add natural sweetness and a vibrant color to each danish.
Egg Wash
Prepare one egg (beaten) for an egg wash. This gives the pastries a beautiful golden finish when baked.
Step By Step Recipe: Cherry Cream Cheese Danish
Step 1: Preheat Oven
Preheat your oven to 375°F (190°C). This ensures that your pastries bake evenly and achieve a golden color.
Step 2: Prepare Puff Pastry
Roll out the thawed puff pastry on a lightly floured surface. Cut the dough into squares or rectangles according to your desired size for individual danishes.
Step 3: Make Filling
In a mixing bowl, combine softened cream cheese, granulated sugar, and vanilla extract. Mix until smooth and creamy without any lumps.
Step 4: Assemble Danishes
Place a spoonful of cream cheese mixture in the center of each puff pastry square. Top with several cherries on top of each filling.
Step 5: Fold Pastry Edges
Fold two opposite corners of each pastry square towards the center over the filling. Pinch edges together to seal them securely.
Step 6: Brush with Egg Wash
Using a brush, apply beaten egg over each assembled danish. This gives them a beautiful sheen when baked.
Step 7: Bake Pastries
Place the danishes on a baking sheet lined with parchment paper. Bake for about 20-25 minutes or until they are golden brown.
Step 8: Cool Before Serving
Allow the pastries to cool on a wire rack for at least 10 minutes before serving them warm or at room temperature.

Serving and Storing Tips
Serving Suggestions
These Cherry Cream Cheese Danishes are best enjoyed warm straight out of the oven. Serve them alongside coffee or tea for brunch or as an afternoon snack. For added indulgence, dust powdered sugar over them before serving or drizzle with icing made from powdered sugar mixed with milk for extra sweetness.
Storage Guidelines
To store leftover danishes, place them in an airtight container at room temperature for up to two days. If you want to keep them longer, refrigerate them for up to one week. To reheat, simply pop them back in the oven at 350°F (175°C) for about 5-10 minutes until warmed through.
Mistakes to avoid
One common mistake when making Cherry Cream Cheese Danish is using cold cream cheese. Always ensure that your cream cheese is at room temperature before mixing. Cold cream cheese can lead to lumps and a less smooth filling, resulting in an uneven texture.
Another frequent error is not properly sealing the pastry edges. Failing to seal the edges can cause the filling to leak out during baking, creating a messy outcome. Make sure to pinch the edges securely or use a fork to create decorative patterns that also help seal.
Overbaking is another pitfall many encounter. Keep a close eye on your Danish as it bakes. Overbaking can lead to a dry pastry and burnt toppings, ruining the delightful flavors of cherry and cream cheese.
Not using parchment paper on your baking sheet can lead to sticking, which makes serving difficult. Always line your baking sheet with parchment paper to ensure easy removal and a clean presentation.
Lastly, skipping the egg wash can leave your Cherry Cream Cheese Danish looking dull and unappetizing. An egg wash gives the pastry a beautiful golden color and enhances its appeal.

Tips and tricks
For the best results with your Cherry Cream Cheese Danish, consider using fresh cherries instead of canned ones. Fresh fruit provides a brighter flavor and better texture than their canned counterparts, elevating your dessert significantly.
When preparing your dough, roll it out evenly for consistent baking. Uneven dough can cause parts of your Danish to cook faster than others, leading to an inconsistent texture. Aim for about 1/8-inch thickness for optimal results.
Before you start assembling your Danish, have all ingredients ready at hand. This will streamline the process and prevent any last-minute scrambling that might disrupt your flow, ensuring each step is executed smoothly.
Consider adding a hint of vanilla extract to your cream cheese filling for an extra layer of flavor. A little vanilla can enhance the sweetness while complementing the tartness of the cherries beautifully.
Lastly, let your Danish cool slightly before serving. While it may be tempting to dig in right away, allowing it to cool helps set the filling and makes for a more enjoyable eating experience.
Suggestions for Cherry Cream Cheese Danish
Pairing your Cherry Cream Cheese Danish with coffee or tea makes for a delightful breakfast or snack option. The rich flavors of coffee or tea contrast nicely with the sweet cream cheese filling and fruity topping.
For an added twist, consider experimenting with different fruit toppings such as blueberries or raspberries alongside cherries. Mixing fruits can create unique flavor combinations that keep things interesting while still maintaining that classic Danish feel.
If you’re planning for a gathering, present individual servings by cutting each Danish into smaller pieces. This not only looks appealing but also allows guests to enjoy them without feeling guilty about indulging in sweets.
Consider drizzling a simple glaze over your finished pastries for an extra touch of sweetness and shine. A mix of powdered sugar and milk creates an easy glaze that adds visual appeal and enhances taste without overpowering the main flavors.
Lastly, don’t forget about storage! If you have leftovers, store them in an airtight container at room temperature for up to two days or refrigerate them for longer freshness while maintaining quality.

FAQs
How long does it take to make Cherry Cream Cheese Danish?
Making Cherry Cream Cheese Danish typically takes about 30 minutes of preparation time followed by 25-30 minutes of baking time. This means you can enjoy freshly baked pastries in under an hour! Allow some additional time if you need to chill the dough before rolling it out or if you’re preparing homemade cherry filling from scratch.
Can I use other fruits instead of cherries?
Absolutely! While cherries are delicious in this recipe, you can substitute with various fruits like blueberries, strawberries, or even peaches. Just remember that different fruits may require slight adjustments in sugar levels based on their natural sweetness or tartness.
Can I make Cherry Cream Cheese Danish ahead of time?
Yes! You can prepare the filling and dough ahead of time and store them separately in the refrigerator for up to two days before baking. Alternatively, you could bake them ahead of time and reheat them gently in an oven just before serving for best results.
What should I serve with my Cherry Cream Cheese Danish?
Cherry Cream Cheese Danishes pair wonderfully with beverages like coffee or tea. You might also consider serving them alongside fresh fruits or yogurt as part of a balanced breakfast spread that delights everyone at your table!
How do I store leftovers?
To store leftover Cherry Cream Cheese Danishes, place them in an airtight container at room temperature if enjoyed within two days or refrigerate if keeping longer than that. For utmost freshness during storage, make sure they have cooled completely before sealing away!
Can I freeze my Cherry Cream Cheese Danish?
Yes! You can freeze unbaked prepared Danishes by placing them on a tray until firm then transferring them into freezer-safe bags once solidified. Bake directly from frozen when ready—just add some extra time to ensure they’re cooked through!
Summary
In summary, making perfect Cherry Cream Cheese Danishes requires attention to detail in both preparation and baking processes. Avoid common mistakes such as using cold cream cheese or overbaking while employing helpful tips like using fresh fruit and letting pastries cool before serving. By considering various suggestions for pairing and storing leftovers effectively, you’ll create delightful treats everyone will enjoy!