
Quick Overview
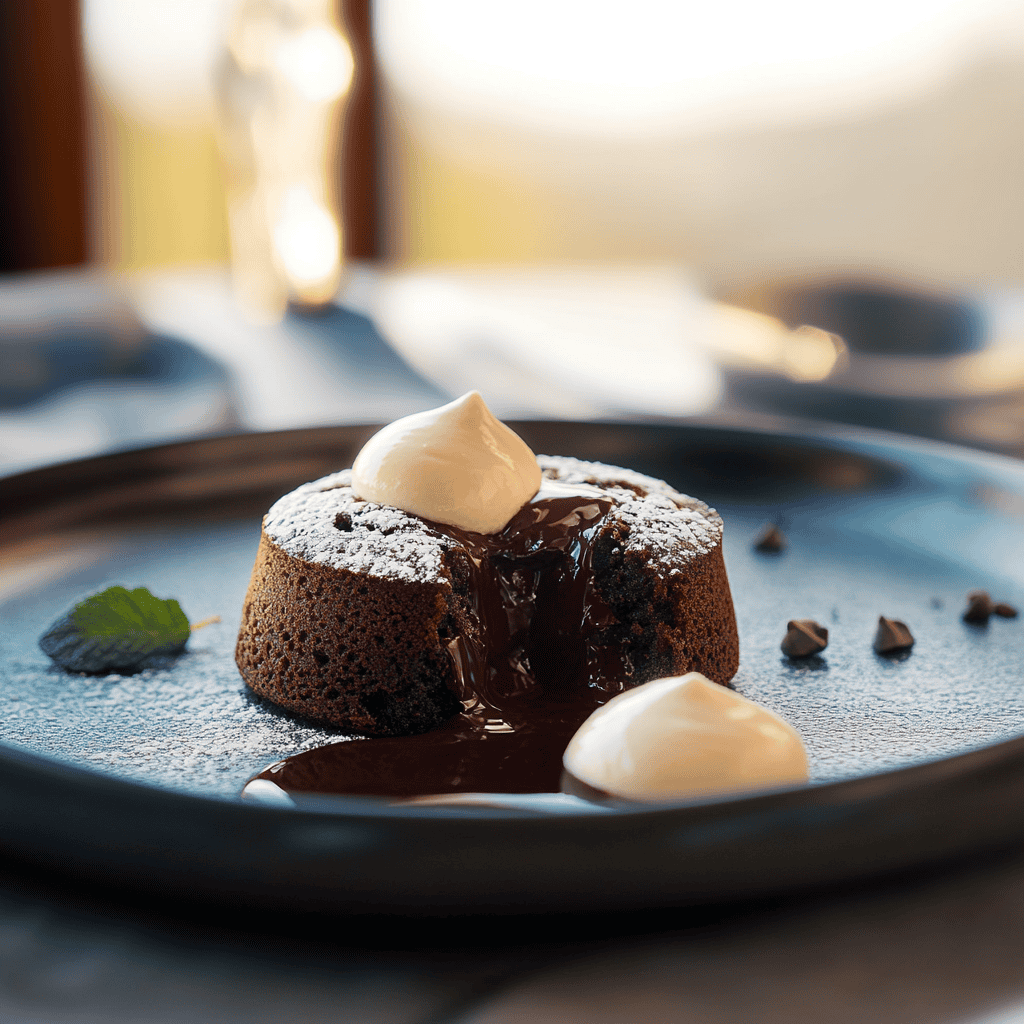
Indulging in a warm dessert is one of life’s greatest pleasures, and nothing quite matches the allure of molten chocolate lava cakes. These irresistible treats feature a rich outer layer of chocolate cake that gives way to a gooey, molten center. Perfect for special occasions or as a delightful end to any meal, molten chocolate lava cakes are sure to impress. In this article, we will guide you through crafting these decadent delights right in your kitchen.
Ingredient Breakdown
Dark Chocolate
For the best flavor and texture, use high-quality dark chocolate with at least 60% cocoa content. This ingredient delivers a rich taste that balances perfectly with the sweetness of other components. You’ll need about 4 ounces of dark chocolate.
Unsalted Butter
Unsalted butter adds creaminess and richness to the batter. It also helps create that luxurious texture we crave in a molten cake. Use ½ cup (1 stick) for optimal results.
Eggs
Eggs serve as binders in this recipe while providing structure and moisture. They help achieve the perfect gooey center. You will need 2 large eggs and 2 egg yolks.
Granulated Sugar
Sugar not only sweetens the cakes but also contributes to their overall texture. A combination of sweetness and richness is essential in balancing flavors. Use ½ cup of granulated sugar.
All-Purpose Flour
The flour provides structure while keeping the cake light and airy. Too much flour can lead to dryness; hence precision is key here. Use just ¼ cup of all-purpose flour.
Vanilla Extract
Vanilla extract enhances the overall flavor profile of your cakes, adding warmth and depth to the rich chocolate taste. You’ll need 1 teaspoon of pure vanilla extract for this recipe.
Step By Step Recipe: Molten Chocolate Lava Cakes
Step 1: Preheat the Oven
Begin by preheating your oven to 425°F (220°C). This high temperature ensures that your cakes will rise beautifully and form that luscious molten center when baked properly.
Step 2: Prepare Ramekins
Grease four ramekins generously with butter or cooking spray to prevent sticking. Dust each ramekin with cocoa powder afterward for an added touch that enhances presentation once your cakes are ready to serve.
Step 3: Melt Chocolate and Butter
In a microwave-safe bowl, combine the dark chocolate and unsalted butter. Heat in intervals of 30 seconds until both ingredients melt together smoothly. Stir well between intervals until fully combined into a glossy mixture.
Step 4: Whisk Eggs and Sugar
In another bowl, whisk together the eggs, egg yolks, and granulated sugar until they become thick and pale in color. This mixture should double in volume; it helps create a light texture in your final product.
Step 5: Combine Mixtures
Slowly pour the melted chocolate-butter mixture into the egg-sugar blend while whisking continuously to avoid cooking the eggs. This step is crucial for achieving that smooth batter without lumps forming.
Step 6: Add Dry Ingredients
Gently fold in the all-purpose flour along with vanilla extract until just combined. Be careful not to overmix; doing so can lead to dense cakes instead of light ones.
Step 7: Fill Ramekins
Divide the batter evenly among your prepared ramekins, filling each about three-quarters full. Leave space at the top as they will rise during baking; this ensures they maintain their lovely shape.
Step 8: Bake Cakes
Place ramekins on a baking sheet and bake them in your preheated oven for about 12-14 minutes or until edges are firm but centers remain soft. Keep an eye on them closely as baking times may vary slightly based on ovens.
Step 9: Cool Slightly
Once finished baking, remove from the oven and let them cool for about two minutes before serving. This brief cooling time allows them to set just enough while still retaining their molten centers.
Step 10: Serve Warm
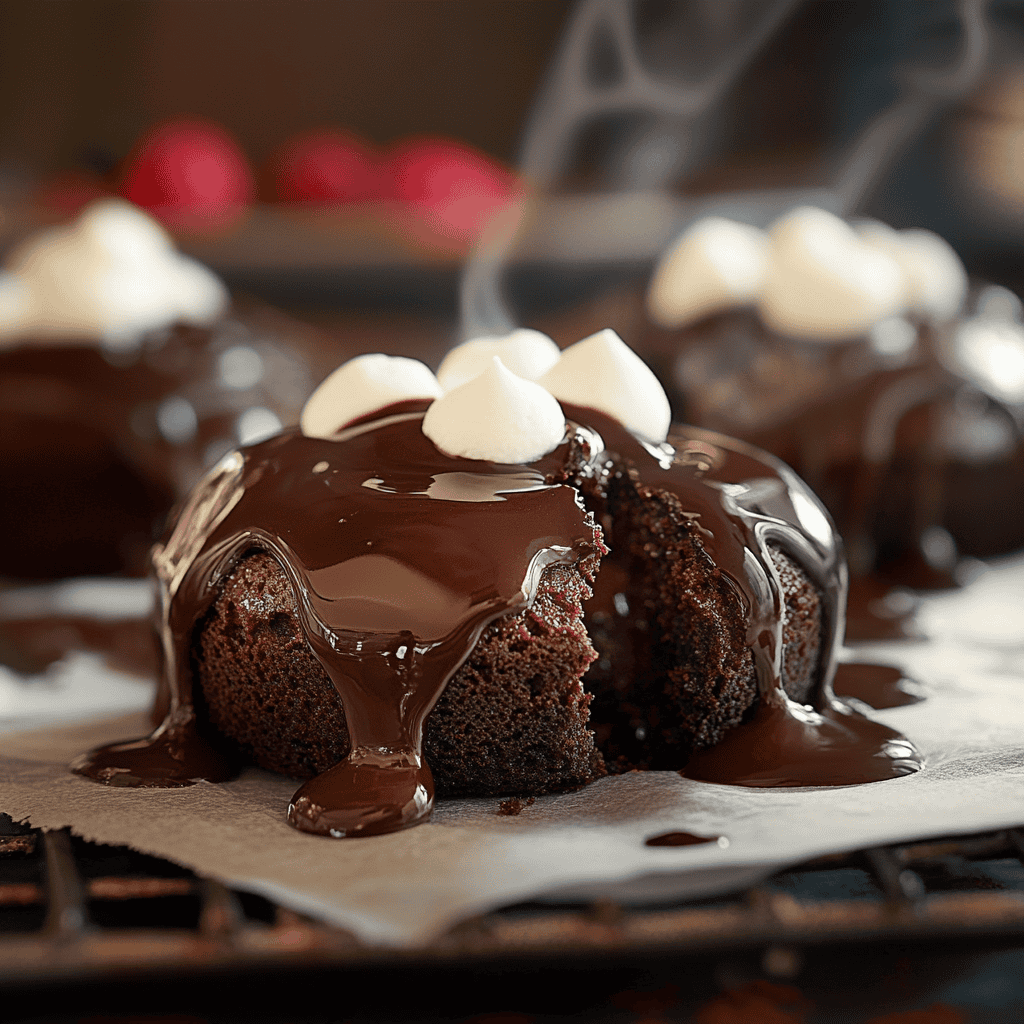
Carefully run a knife around each rim before gently inverting onto individual dessert plates. Serve immediately while warm for maximum gooeyness; pairing with ice cream elevates this experience further!
Serving and Storing Tips
Serving Tip
These molten chocolate lava cakes are best enjoyed warm straight out of the oven for that gooey center effect! Pair them with fresh berries or scoop vanilla ice cream on top for an indulgent treat everyone will love.
Storing Tip
If you have leftovers (which is rare!), allow them to cool completely before covering tightly with plastic wrap or storing in an airtight container in the refrigerator for up to two days. Reheat gently in a microwave when ready to enjoy again!
Mistakes to avoid
One common mistake when making molten chocolate lava cakes is overbaking. This can lead to cakes that lack the gooey center, which is the hallmark of a perfect lava cake. To avoid this, keep a close eye on the baking time. Remove them from the oven as soon as the edges are set but the center remains soft.
Another error is not greasing the ramekins properly. If you skip this step, your cakes may stick and break apart when you try to unmold them. Use a generous amount of butter or cooking spray, and dust with cocoa powder to ensure easy release.
Using low-quality chocolate can ruin your molten chocolate lava cakes. Always choose high-quality chocolate for rich flavor and a smooth texture. Cheap chocolate can result in a grainy consistency and lackluster taste, undermining your efforts.
Lastly, don’t skip letting the batter rest. Allowing it to chill in the refrigerator for at least 30 minutes helps improve texture and flavor while making it easier to handle. Rushing this step can lead to uneven baking and less delicious results.
Tips and tricks
To achieve perfect molten chocolate lava cakes, consider using room temperature ingredients. This includes eggs and butter, which blend more easily into a smooth batter when they are not cold. Room temperature ingredients help create a uniform mixture that rises evenly during baking.
Another useful tip is to preheat your oven thoroughly before placing the cakes inside. An oven that isn’t hot enough can lead to uneven baking or insufficient rising, ruining the signature molten center. Use an oven thermometer if necessary to ensure it’s at the right temperature before you start baking.
When pouring the batter into ramekins, fill them only halfway. This provides enough space for the batter to rise without overflowing during baking. Overfilling can result in messy spills and inconsistent textures.
Experimenting with different fillings can also be fun! For instance, adding a spoonful of peanut butter or raspberry jam in the center can give your molten chocolate lava cakes a unique twist. Just make sure these additions are not too thick; they should melt slightly during baking.
Lastly, serve your lava cakes immediately after baking for the best experience. The gooey center is best enjoyed warm, so pair them with vanilla ice cream or whipped cream for added indulgence.
Suggestions for Molten Chocolate Lava Cakes
Consider using dark chocolate instead of semi-sweet for a more intense flavor profile in your molten chocolate lava cakes. Dark chocolate has a richer taste and pairs beautifully with sweet toppings like ice cream or fresh berries.
For those looking to make these treats gluten-free, substitute regular flour with almond flour or gluten-free all-purpose flour. This adjustment maintains texture while accommodating dietary preferences without sacrificing flavor.
You could also experiment with flavored extracts such as vanilla or orange zest in your batter for an unexpected twist on traditional recipes. These flavors can complement chocolate beautifully while adding depth to your dessert.
If you’re preparing these treats for special occasions, think about garnishing them with fresh mint leaves or edible flowers for visual appeal. A simple aesthetic touch makes your dish look gourmet while elevating its presentation.
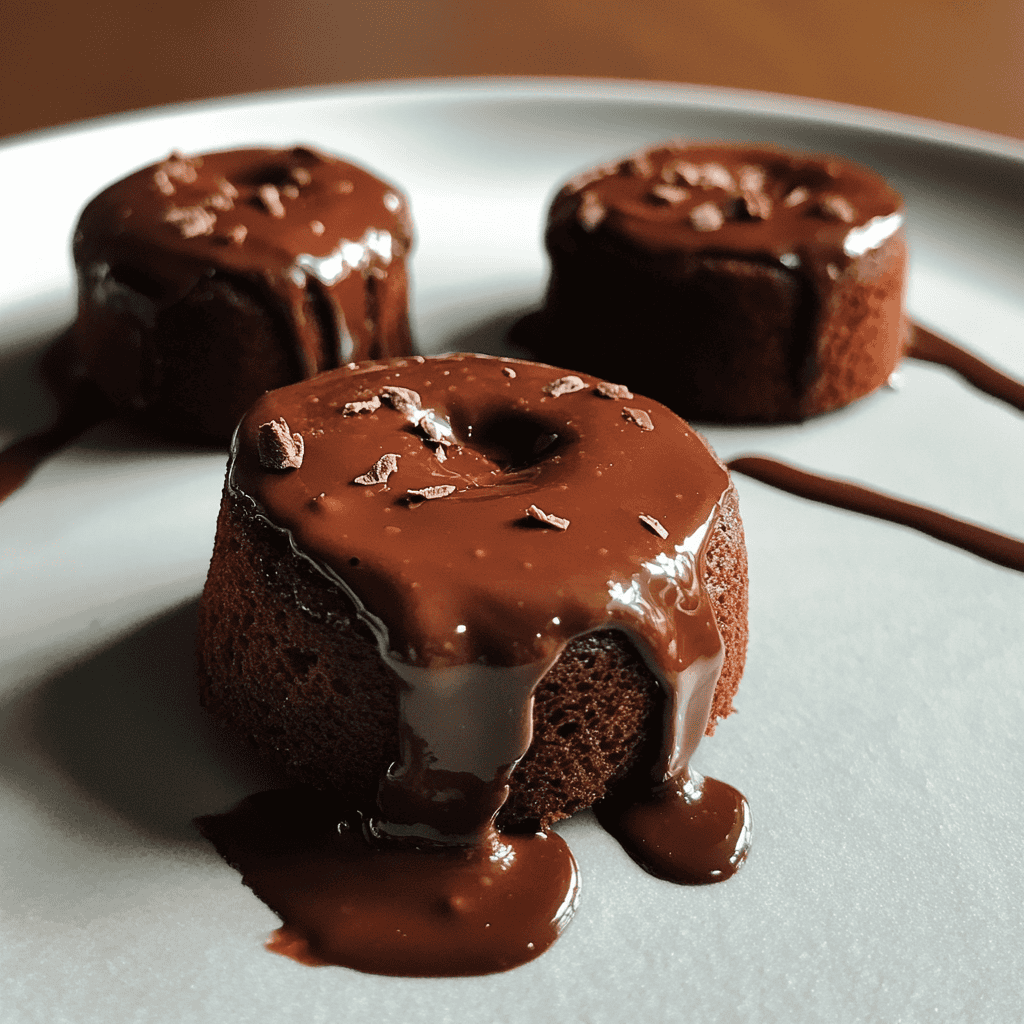
Lastly, consider making mini versions of molten chocolate lava cakes by using a muffin tin instead of individual ramekins. This allows you to serve more guests at once while retaining that delightful molten core everyone loves.
FAQs
What are Molten Chocolate Lava Cakes?
Molten chocolate lava cakes are individual desserts known for their decadent texture and rich flavor. They feature a firm outer layer with a gooey, melted chocolate center that flows out when cut open. Often served warm with ice cream or whipped cream, these cakes are perfect for special occasions or indulgent treats.
Can I prepare Molten Chocolate Lava Cakes ahead of time?
Yes, you can prepare molten chocolate lava cake batter ahead of time! Simply make the batter and pour it into greased ramekins before refrigerating them until you’re ready to bake. This allows you to enjoy fresh desserts without spending too much time in the kitchen during entertaining moments.
How do I know when my Molten Chocolate Lava Cakes are done?
To check if your molten chocolate lava cakes are done baking, look for set edges but soft centers that jiggle slightly when shaken gently. The ideal baking time usually ranges from 12-14 minutes at 425°F (220°C). Remember that removing them promptly will help maintain that luscious molten center.
Can I use other types of chocolate?
Absolutely! While dark or semi-sweet chocolates are commonly used for molten lava cakes, you can experiment with milk chocolate or even white chocolate if desired. Each type brings its distinct flavor profile; just ensure that it melts well and creates that sought-after gooey center!
What should I serve with Molten Chocolate Lava Cakes?
Molten chocolate lava cakes pair beautifully with vanilla ice cream or fresh whipped cream to balance their richness perfectly. You might also consider serving fresh fruits like raspberries or strawberries on the side; their tartness complements sweet desserts wonderfully!
How do I store leftovers?
If you have any leftover molten chocolate lava cakes (though unlikely), store them in an airtight container at room temperature for up to two days or refrigerate for up to one week. Reheat briefly in an oven before serving again; this helps restore their gooey centers!
Summary
In conclusion, mastering molten chocolate lava cakes requires attention to detail and avoiding common mistakes like overbaking and using low-quality ingredients. Follow key tips such as using room temperature ingredients and letting batter chill before baking for optimal results. Experimenting with flavors and garnishes adds creativity while ensuring delightful presentations at any event! Enjoy these decadent treats warm alongside ice cream or fruits—perfectly satisfying indulgence awaits!