
Quick Overview
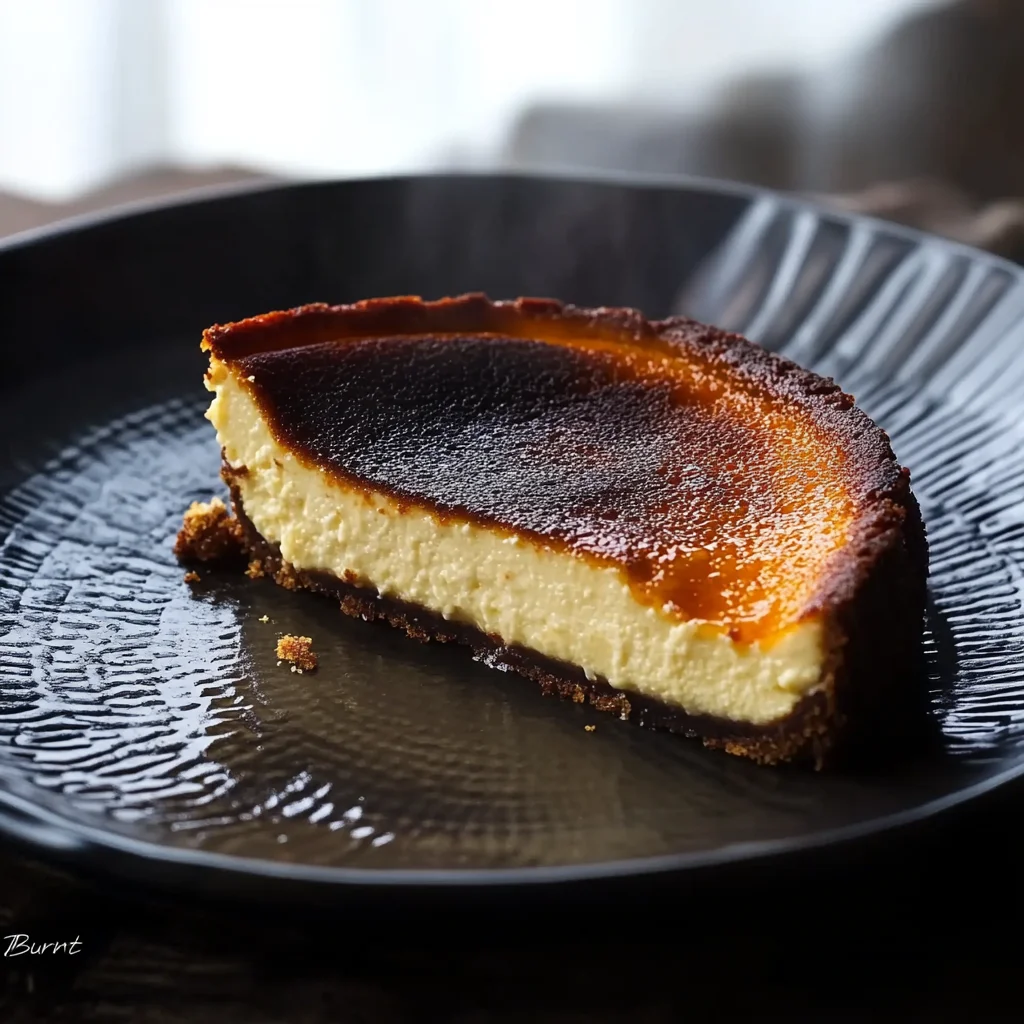
If you’re on the hunt for a dessert that combines simplicity with elegance, look no further than the burnt Basque cheesecake. This unique cake features a creamy center with a beautifully charred top that creates a delightful contrast in texture and flavor. Originating from the Basque region of Spain, this cheesecake has gained immense popularity worldwide for its rich taste and easy preparation. In this guide, you’ll find everything you need to create your own mouthwatering burnt Basque cheesecake at home.
Ingredient Breakdown
Cream Cheese (500g)
Cream cheese serves as the primary base for the burnt Basque cheesecake. Its rich and smooth texture contributes to the cake’s creamy interior. Ensure you use full-fat cream cheese for best results, as it adds depth of flavor and creaminess to the final product.
Granulated Sugar (200g)
Granulated sugar sweetens the cheesecake while also aiding in achieving that beautiful caramelized crust on top. It is crucial to mix the sugar thoroughly with other ingredients to ensure even sweetness throughout the cake.
Eggs (3 large)
Eggs provide structure and stability to the cheesecake. They help bind the mixture together while also adding moisture. Using room temperature eggs allows for better incorporation into the batter.
Heavy Cream (300ml)
Heavy cream contributes to the luscious texture of the burnt Basque cheesecake. The higher fat content gives it a velvety mouthfeel that enhances the overall experience. Make sure to whip it slightly before adding it to achieve a richer consistency.
All-Purpose Flour (30g)
A small amount of all-purpose flour helps stabilize the batter without making it too dense. It also aids in creating that perfect balance between creaminess and structure in your cheesecake.
Vanilla Extract (1 tsp)
Vanilla extract adds warmth and depth of flavor to your dessert. It complements the richness of the cream cheese and enhances the overall taste profile of your burnt Basque cheesecake.
Step By Step Recipe: “Burnt” Basque Cheesecake
Preheat Your Oven
Begin by preheating your oven to 220°C (428°F). This high temperature is essential for achieving that signature burnt exterior while keeping the inside creamy and delicious. It’s important not to skip this step as an adequately heated oven ensures even cooking throughout.
Prepare Your Baking Pan
Line an 8-inch round springform pan with parchment paper. Allow some excess paper hanging over the edges for easy removal after baking. Make sure to grease both the pan and parchment lightly; this will help prevent sticking when it’s time to serve your cheesecake.
Mix Cream Cheese and Sugar
In a large mixing bowl, combine 500g of cream cheese with 200g of granulated sugar. Use an electric mixer on medium speed until smooth and creamy—about 2-3 minutes should suffice. Scrape down the sides of your bowl as needed to ensure all ingredients are well incorporated.
Add Eggs One at a Time
Next, add three large eggs one at a time into your cream cheese mixture. Beat well after each addition until fully blended. This gradual incorporation helps create an airy texture within your batter while ensuring even mixing without overworking it.
Incorporate Heavy Cream
Pour in 300ml of heavy cream into your mixture along with one teaspoon of vanilla extract. Mix on low speed until just combined; avoid overmixing as this can lead to unwanted air bubbles in your batter which may affect baking results.
Sift in Flour
Gently sift 30g of all-purpose flour directly into your batter using a fine mesh sieve or sifter. Fold it in carefully using a spatula until no dry flour remains visible; be cautious not to overmix at this stage as well—maintaining airiness is key!
Pour Batter into Pan
Transfer your prepared batter into the lined springform pan, smoothing out the top gently with a spatula for even baking. Ensure no lumps remain before placing it in the oven; this helps create consistent texture throughout your finished cake.
Bake Cheesecake
Place your filled pan in preheated oven and bake for approximately 25-30 minutes or until you see a dark brown crust form on top while still having some jiggle in its center when shaken slightly—this indicates it’s perfectly baked!
Cool Down Gradually
Once baked, turn off your oven but leave the door slightly ajar allowing heat escape gradually; let it cool down completely inside before removing from oven entirely—this prevents cracking caused by sudden temperature changes.
Chill Before Serving
After cooling at room temperature, cover your cooled cake loosely with plastic wrap then refrigerate for at least four hours or overnight if possible! Chilling allows flavors meld beautifully enhancing overall taste experience when served chilled!

Serving and Storing Tips
Serve Chilled
When ready to serve your burnt Basque cheesecake, remove it from refrigeration briefly before slicing into portions! This allows flavors bloom more richly upon tasting while maintaining optimal texture—rich yet creamy—making each bite simply irresistible!
Store Properly
To store leftovers effectively place any uneaten slices back into refrigerator wrapped tightly using plastic wrap or stored within an airtight container! It’s best consumed within 3 days though properly stored can last up-to one week retaining lovely taste without compromising quality!
By following these detailed instructions along with our ingredient breakdown you’ll soon be enjoying an unforgettable homemade “burnt” Basque cheesecake that impresses everyone around!
Mistakes to avoid
When making a “Burnt” Basque Cheesecake, one common mistake is not allowing the cream cheese to soften. Cold cream cheese can lead to lumps in your batter and an uneven texture. Always let it sit at room temperature for about an hour before mixing.
Another significant error is using the wrong baking dish. Using a pan that is too large can result in a flat cake, while a pan that is too small may cause overflow. Opt for a 9-inch springform pan for best results.
Overmixing the batter can also ruin your cheesecake. Mix just until combined to keep the cake light and airy. Overmixing introduces too much air, leading to cracks during baking.
Failing to preheat your oven properly is another mistake. A hot oven ensures even cooking and helps achieve that characteristic burnt top. Always preheat for at least 15 minutes before placing your cheesecake inside.
Lastly, don’t skip the cooling stage after baking. Proper cooling allows the cheesecake to set correctly. If you cut into it too soon, you risk losing its shape and creamy texture.

Tips and tricks
To master the art of making “Burnt” Basque Cheesecake, start by measuring your ingredients accurately. Use a kitchen scale for precision, especially with cream cheese and sugar. This ensures consistency in texture and flavor across different batches.
Consider using high-quality ingredients for the best outcome. Fresh eggs, premium cream cheese, and pure vanilla extract will significantly enhance the flavor profile of your cheesecake. The taste difference will be noticeable.
Experiment with chilling techniques post-baking. After removing the cheesecake from the oven, let it cool at room temperature for about an hour before refrigerating. This gradual cooling helps prevent cracks and gives you that signature creamy texture.
Don’t forget to line your springform pan properly with parchment paper. Ensure it hangs over the edges slightly; this allows for easy removal after baking without damaging the cheesecake’s shape.
Lastly, serve your “Burnt” Basque Cheesecake with fresh fruits or a drizzle of caramel sauce on top. This adds a delightful contrast of flavors that complements the richness of the cheesecake beautifully.
Suggestions for “Burnt” Basque Cheesecake
For an extra touch of flavor in your “Burnt” Basque Cheesecake, consider adding citrus zest to the batter. Lemon or orange zest brightens up the flavors without overpowering them, creating a refreshing balance.
If you’re feeling adventurous, try infusing your cheesecake with spices like cinnamon or nutmeg. A pinch can add warmth and depth to each slice, making it even more irresistible.
For those who prefer a crustless version, simply omit any crust ingredients altogether. The creamy filling alone provides enough richness and pairs perfectly with various toppings or sauces.
Using different types of cream cheese can also change up the flavor slightly—try mascarpone for an even creamier texture or goat cheese for tanginess that contrasts beautifully with sweetness.
Finally, pair your “Burnt” Basque Cheesecake with beverages such as espresso or sweet dessert wine like Pedro Ximénez sherry to elevate your dessert experience further.

FAQs
What makes “Burnt” Basque Cheesecake different from regular cheesecake?
“Burnt” Basque Cheesecake distinguishes itself from traditional cheesecakes through its unique cooking method and appearance. It’s baked at high heat, resulting in a caramelized top layer that looks burnt but tastes rich and creamy inside. The lack of a crust also sets it apart from classic versions.
How do I store leftover “Burnt” Basque Cheesecake?
To store leftover “Burnt” Basque Cheesecake, cover it tightly with plastic wrap or place it in an airtight container in the refrigerator. It keeps well for up to five days chilled but is best enjoyed within three days for optimal freshness and texture.
Can I freeze “Burnt” Basque Cheesecake?
Yes! You can freeze “Burnt” Basque Cheesecake for up to three months if stored properly in an airtight container or wrapped tightly in plastic wrap followed by aluminum foil. Thaw it overnight in the refrigerator when ready to enjoy it again without compromising its flavor or texture.
Why does my cheesecake have cracks on top?
Cracks often occur due to overmixing or baking at too high temperatures without proper monitoring of time. To avoid this issue when making “Burnt” Basque Cheesecake, mix just until combined and bake until only slightly jiggly in the center before cooling completely at room temperature.
Can I add flavors like chocolate or fruit puree?
Absolutely! Adding flavors like chocolate or fruit puree enhances your “Burnt” Basque Cheesecake’s taste profile significantly. Swirl melted chocolate into the batter before baking or fold in fruit purees after mixing for delicious variations that still maintain that signature burnt look on top.
How long do I need to cool my cheesecake before serving?
After removing your “Burnt” Basque Cheesecake from the oven, allow it to cool at room temperature for about an hour before transferring it into the refrigerator. Chilling it helps set its texture further and improves overall flavor development; aim for at least four hours before slicing into it!
Summary
In summary, creating a perfect “Burnt” Basque Cheesecake involves careful attention to detail—from ingredient selection to proper baking techniques and cooling times. Avoid common mistakes like using cold ingredients or overmixing while incorporating tips such as using quality products and experimenting with flavors for enhancement. By following these guidelines and suggestions diligently, you will achieve a deliciously rich dessert that impresses everyone!