
Quick Overview
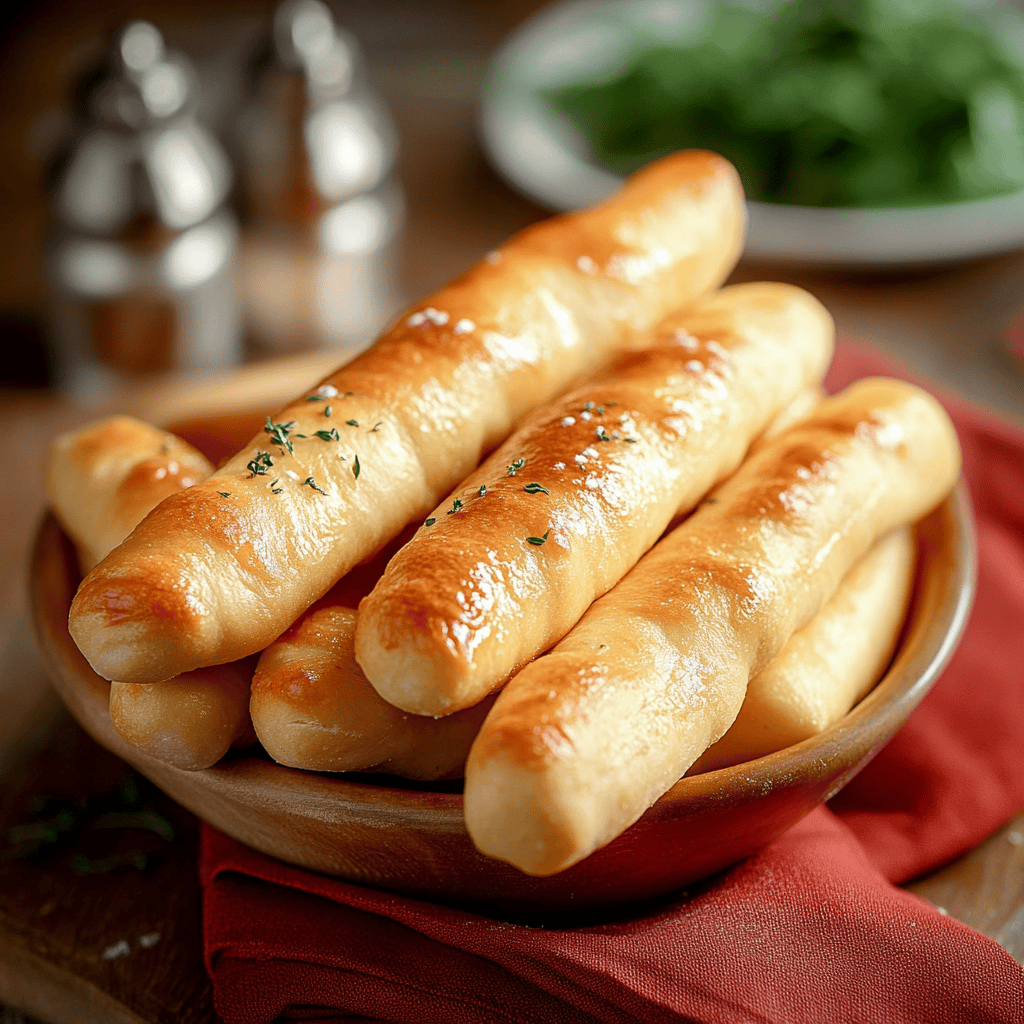
If you’ve ever dined at Olive Garden, you know their breadsticks are an irresistible classic. These warm and fluffy delights come straight from the oven, brushed with garlic butter, and served with a side of marinara sauce. Making your own Olive Garden breadsticks is easier than you might think! This recipe will guide you through each step to recreate that iconic taste in your very own kitchen. With just a handful of simple ingredients and a little bit of patience, you can enjoy these delectable breadsticks fresh out of the oven. Perfect for family dinners or as a side dish for any meal, they are sure to impress. Let’s dive into the delicious world of homemade Olive Garden breadsticks that will make your mealtime even more special.
Ingredient Breakdown
All-Purpose Flour (4 cups)
This is the main ingredient that gives the breadsticks their structure and texture. Use unbleached all-purpose flour for best results.
Instant Yeast (2 teaspoons)
Instant yeast helps the dough rise quickly without needing to bloom first. It ensures a light and fluffy texture in every bite.
Sugar (1 tablespoon)
Sugar not only adds sweetness but also helps activate the yeast during proofing, giving the breadsticks a lovely flavor.
Salt (2 teaspoons)
Salt enhances flavor while controlling the fermentation process of the dough. It balances the sweetness of sugar.
Warm Water (1 ½ cups)
Warm water is essential for activating yeast. Aim for a temperature between 110°F to 115°F for optimal results.
Unsalted Butter (3 tablespoons + 2 tablespoons melted)
Butter adds richness to the dough and is used to brush on top once baked for that signature shine and flavor.
Garlic Powder (1 teaspoon)
Garlic powder provides an aromatic flavor that complements the buttery topping perfectly.
Step By Step Recipe: Olive Garden Breadsticks
Step 1: Prepare Dough
In a large mixing bowl, combine warm water and sugar. Sprinkle in instant yeast and let it sit for about five minutes until foamy. This indicates that the yeast is active.
Step 2: Mix Ingredients
Add all-purpose flour and salt into the yeast mixture. Mix using a wooden spoon until a rough dough forms. Then knead by hand or use a stand mixer with a dough hook until smooth for about five minutes.
Step 3: First Rise
Shape the dough into a ball and place it in an oiled bowl. Cover with plastic wrap or a clean towel. Let it rise in a warm area until doubled in size; this should take about one hour.
Step 4: Shape Breadsticks
Once risen, punch down the dough gently to release air bubbles. Turn it onto a floured surface and roll out into a rectangle about half an inch thick. Cut into strips approximately one inch wide and shape each strip into long sticks.
Step 5: Second Rise
Place shaped breadsticks on greased baking sheets or parchment paper spaced apart. Cover them lightly with plastic wrap or cloth again and let them rise for about 30 minutes until puffed up.
Step 6: Preheat Oven
While waiting for the dough to rise again, preheat your oven to 400°F (200°C). This ensures that your oven is hot enough when you’re ready to bake.
Step 7: Bake Breadsticks
Remove covering from risen breadsticks. Bake them in preheated oven for about 15 minutes or until golden brown on top. Keep an eye on them towards the end of baking time.
Step 8: Add Garlic Butter
Once baked, remove from oven and brush immediately with melted butter mixed with garlic powder while still hot. This step is crucial for achieving that signature flavor!
Serving and Storing Tips
H4 Serving Suggestions
Serve these delicious Olive Garden breadsticks warm alongside marinara sauce or olive oil with balsamic vinegar for dipping. They also pair beautifully with pasta dishes or salads as part of an Italian meal spread. For added flavor, sprinkle some grated Parmesan cheese over the warm breadsticks before serving!
H4 Storage Instructions
To store leftover breadsticks, allow them to cool completely then place them in an airtight container at room temperature if consuming within two days; otherwise refrigerate them if keeping longer than that. Reheat in the oven at low temperature or microwave briefly before serving again to enjoy their soft texture!
Mistakes to avoid
One common mistake when making Olive Garden Breadsticks is not allowing the dough to rise properly. Rising is essential for achieving that soft, fluffy texture. Make sure to let the dough rest in a warm area until it doubles in size. Skipping this step can result in dense breadsticks that lack the signature lightness.
Another frequent error is overworking the dough. Kneading too much can develop excess gluten, leading to tough breadsticks instead of tender ones. Aim for a gentle kneading technique until the ingredients combine well, and then stop. This will help maintain the desired softness.
Using the wrong type of flour can also impact your results. All-purpose flour works best for Olive Garden Breadsticks, as it strikes a balance between protein content and texture. Avoid using whole wheat or bread flour, which may alter the final product’s taste and texture.
Failing to preheat your oven adequately can hinder your baking process. If your oven isn’t hot enough, your breadsticks won’t rise properly while baking, causing them to become flat and chewy. Preheating ensures an even cooking temperature so that the outsides crisp up while keeping the insides soft.
Lastly, neglecting to brush the breadsticks with butter before serving can lead you to miss out on their signature flavor. A generous brush of melted butter adds richness and enhances the overall taste of these delightful treats.
Tips and tricks
To achieve perfect Olive Garden Breadsticks, always measure your ingredients accurately. Using a kitchen scale for flour helps ensure you use just the right amount without packing it down too tightly in cups. Accurate measurements lead to consistent results each time you bake.
Consider using warm water or milk when mixing your dough. Yeast thrives in warm environments; thus, warm liquids activate it faster, resulting in fluffier breadsticks. Ensure that liquids are not too hot; otherwise, they might kill the yeast.
Incorporate garlic powder into your dough for added flavor. This subtle enhancement complements the buttery finish you will apply later on top of the breadsticks. It creates an uplifting aroma and tantalizing taste that resembles those served at Olive Garden.
After shaping your dough into sticks, allow them some space on the baking sheet. The breadsticks need room to expand during baking; overcrowding may lead to uneven cooking or sticking together. Keep sufficient distance between each one for optimal results.
Lastly, don’t forget about herbs! Sprinkling Italian seasoning or dried parsley over your melted butter before brushing it onto the baked breadsticks elevates their flavor profile significantly. This small touch transforms a simple recipe into something truly special.
Suggestions for Olive Garden Breadsticks
Pairing Olive Garden Breadsticks with a variety of dips can enhance your dining experience significantly. Consider serving them alongside marinara sauce or Alfredo sauce for delicious dipping options that complement their flavor beautifully. These sauces add a rich element that brings out their buttery goodness even more.
For an elevated meal experience, enjoy these breadsticks with homemade soups or salads. Creamy tomato soup serves as an excellent accompaniment, balancing flavors perfectly while providing warmth against the soft texture of freshly baked sticks.
Hosting a gathering? Use Olive Garden Breadsticks as part of an appetizer platter! Cut them into smaller pieces and serve alongside cheese spreads or charcuterie boards for easy snacking options that guests will love.
If you want to experiment further with flavors, try adding cheese directly into your dough mixture before baking! Incorporating shredded mozzarella or parmesan creates cheesy centers within each stick—perfect for those who adore cheesy bites.
Finally, consider freezing any leftover uncooked dough for future use! Shape extra portions into sticks, place them on a parchment-lined tray until firm, then store them in freezer bags. When you’re ready to bake again, simply thaw and follow regular baking instructions!

FAQs
What are Olive Garden Breadsticks made from?
Olive Garden Breadsticks consist mainly of basic ingredients such as all-purpose flour, yeast, sugar, salt, water or milk, and butter. The combination of these elements creates a soft yet chewy texture with a delicious buttery finish after baking and brushing with melted butter upon serving.
How do I store leftover Olive Garden Breadsticks?
To store leftover Olive Garden Breadsticks effectively, place them in an airtight container at room temperature if consumed within one day or two days maximum; otherwise refrigerate them for up to three days max. To reheat quickly without losing freshness or texture, microwave them briefly or warm them in an oven wrapped in foil until heated through again!
Can I make Olive Garden Breadsticks ahead of time?
Yes! You can prepare Olive Garden Breadstick dough ahead of time by letting it rise once before refrigerating it overnight (in an airtight container). When ready to bake next day after refrigeration period ends—simply shape into sticks according directions and allow enough time for second rise before popping those beauties into preheated oven!
How long do I bake my Olive Garden Breadsticks?
Bake your Olive Garden Breadsticks at 400°F (200°C) for approximately 12-15 minutes or until they turn golden brown on top! Remember that exact timing may vary depending on individual ovens; keep an eye out towards end so they don’t overbake!
Can I add toppings to my Olive Garden Breadsticks?
Certainly! Feel free to get creative with toppings by adding herbs like rosemary or thyme sprinkled atop along with coarse sea salt right before baking! You could also incorporate grated cheese directly into dough mixture if desired!
How do I know when my breadsticks are done baking?
Your Olive Garden Breadsticks are ready when they have risen well and turned golden brown on top—indicating they have cooked through fully! Additionally pressing gently on surface should yield slight resistance indicating perfect fluffiness inside!
Summary
In summary, creating authentic Olive Garden Breadsticks requires attention to detail while avoiding common mistakes like improper rising or using incorrect flour types. Employing helpful tips such as measuring accurately ensures consistent results every time you bake these delightful treats! Pairing suggestions enhance enjoyment even further whilst answering frequently asked questions addresses any concerns about storing leftovers or making ahead of time provides confidence throughout process from start-to-finish! Enjoy delicious homemade versions today!