
Quick Overview
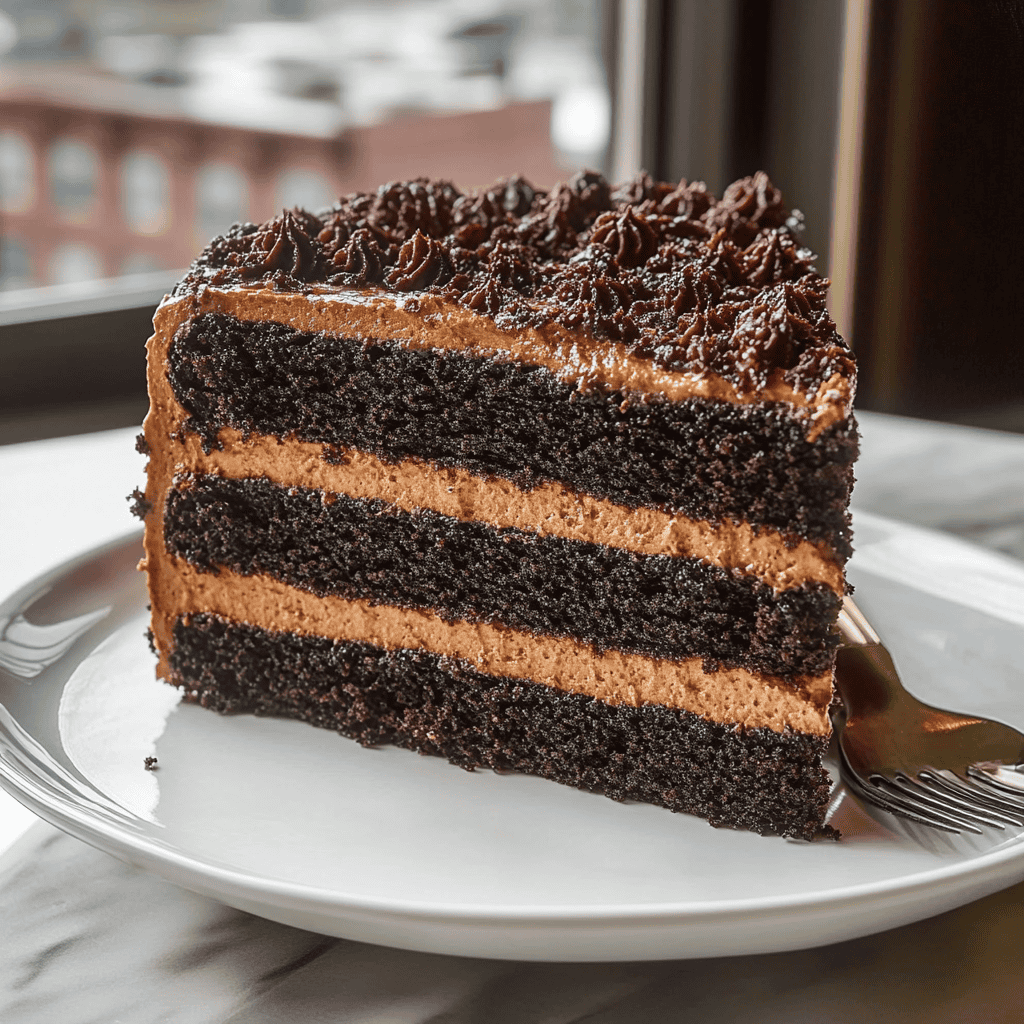
If you’re craving a dessert that truly satisfies your sweet tooth, the Brooklyn Blackout Cake is the perfect choice. This rich and indulgent cake features layers of moist chocolate sponge cake, luscious chocolate pudding filling, and a smooth chocolate frosting. Originating from the borough of Brooklyn in New York City, this cake boasts deep chocolate flavors that make it a favorite among dessert lovers.
In this recipe, you’ll learn how to create this iconic treat from scratch. Whether you’re celebrating a birthday or simply treating yourself on a weekend afternoon, this cake will impress your family and friends. The combination of textures—from fluffy cake to creamy filling—offers an unforgettable experience with each bite. Plus, the striking appearance of dark chocolate layers makes it an eye-catching centerpiece for any gathering.
Get ready to whip up this classic Brooklyn Blackout Cake in your kitchen. With its straightforward steps and easily accessible ingredients, you’ll find it’s both fun and rewarding to make. Let’s dive into the ingredient breakdown so you can gather everything you need for this delightful baking adventure.
Ingredient Breakdown
All-Purpose Flour (2 cups)
All-purpose flour serves as the base for the cake, providing structure and stability. It allows the cake to rise beautifully while maintaining a tender crumb.
Unsweetened Cocoa Powder (¾ cup)
Cocoa powder adds rich chocolate flavor and depth to the cake. Using unsweetened cocoa ensures that you control the sweetness of the dessert effectively.
Granulated Sugar (2 cups)
Sugar enhances sweetness while also contributing to the overall texture of the cake. It helps achieve that desirable moistness in each layer.
Baking Powder (1½ teaspoons)
Baking powder acts as a leavening agent, allowing the cake to rise during baking. This creates a light and fluffy texture that contrasts perfectly with the pudding.
Salt (½ teaspoon)
Salt enhances all flavors in baked goods. It balances sweetness and brings out the richness of the cocoa.
Eggs (3 large)
Eggs provide moisture and act as binders in the recipe. They help achieve a light texture while contributing richness to the overall flavor.
Whole Milk (1 cup)
Whole milk adds moisture and fat, resulting in a tender crumb. It also helps dissolve dry ingredients for better mixing.
Vegetable Oil (½ cup)
Vegetable oil keeps the cake moist without adding extra flavors. It contributes to a soft texture that makes each bite delightful.
Semi-Sweet Chocolate Chips (1 cup)
Chocolate chips are used for making both pudding filling and frosting rich and hearty. They melt beautifully when combined with cream for a luscious taste.
Step By Step Recipe: Brooklyn Blackout Cake
Step 1: Prepare Your Oven and Pans
Preheat your oven to 350°F (175°C). Grease two 9-inch round cake pans with butter or cooking spray. Dust them lightly with flour to ensure easy removal after baking.
Step 2: Mix Dry Ingredients
In a large mixing bowl, whisk together flour, cocoa powder, sugar, baking powder, and salt until evenly combined. This helps distribute all dry ingredients before adding wet ones.
Step 3: Combine Wet Ingredients
In another bowl, mix eggs, milk, vegetable oil, and vanilla extract until well blended. Make sure there are no lumps before combining wet ingredients with dry ones.
Step 4: Combine Ingredients
Gradually add wet ingredients into dry ingredients while stirring gently until just combined. Be careful not to overmix; some lumps are okay for a tender texture.
Step 5: Bake The Cakes
Pour batter evenly into prepared pans. Bake for 30-35 minutes or until a toothpick inserted comes out clean from center of cakes. Cool them in pans for about 10 minutes before transferring to wire racks.
Step 6: Make Chocolate Pudding Filling
While cakes cool down, prepare chocolate pudding according to package instructions or use homemade pudding if preferred. Allow it to cool completely for easier layering later on.
Step 7: Prepare Chocolate Frosting
Melt semi-sweet chocolate chips with cream over low heat until smooth using double boiler method or microwave in short intervals stirring frequently until creamy consistency is reached.
Step 8: Assemble The Cake
Once cooled completely, place one layer of cake on serving platter or stand. Spread half of cooled pudding over top followed by second layer of cake; repeat process with remaining pudding topping off with frosting generously around sides/top layer.

Serving and Storing Tips
Serving Suggestions
Slice your Brooklyn Blackout Cake into generous portions using a sharp knife warmed under hot water for cleaner cuts through layers. Serve it chilled for best flavor experience alongside whipped cream or fresh berries as delightful accompaniments!
Storing Instructions
Wrap leftover pieces tightly in plastic wrap or aluminum foil after cooling completely at room temperature; store them in refrigerator where they can stay fresh up to five days! For longer storage period freeze individual slices wrapped well; thaw overnight before enjoying again!
Mistakes to avoid
One common mistake when making Brooklyn Blackout Cake is overbaking the layers. This leads to dry cake, which can ruin the rich flavor and texture you aim for. Always check your cake layers a few minutes before the recommended time. Use a toothpick; it should come out clean but not dry.
Another pitfall is using cold ingredients. Ensure that your eggs, butter, and milk are at room temperature. Cold ingredients do not blend well and can result in uneven mixing, affecting the cake’s rise and texture.
Failing to properly measure your ingredients can also be detrimental. Baking is a science, so inaccuracies in measurements can throw off the balance of flavors and textures. Invest in a kitchen scale or use the spoon-and-level method for dry ingredients.
Lastly, don’t skip the cooling step. Allow each layer to cool completely before frosting. Frosting warm cake can lead to melting and an unappealing finish.

Tips and tricks
To achieve the perfect Brooklyn Blackout Cake, consider using high-quality cocoa powder. The richness of your cocoa will significantly impact the overall flavor of your cake. Look for Dutch-processed cocoa for a deeper chocolate taste that complements the other ingredients nicely.
Another tip is to make your own chocolate pudding filling instead of using store-bought options. Homemade pudding has a fresher taste and allows you to control the sweetness and consistency, enhancing the overall quality of your cake.
When it comes to frosting, employ a crumb coat technique first. Spread a thin layer of frosting over the entire cake to seal in crumbs. Chill it briefly before applying a final layer of frosting for a cleaner look.
Lastly, let your finished Brooklyn Blackout Cake sit for several hours or overnight in the refrigerator before serving. This resting period helps the flavors meld together beautifully and makes slicing easier.
Suggestions for Brooklyn Blackout Cake
For an added twist, consider incorporating coffee into your batter. A small amount of brewed coffee or espresso enhances chocolate flavors without overwhelming them. This trick elevates your Brooklyn Blackout Cake from ordinary to extraordinary.
You might want to experiment with different frostings as well. While traditional chocolate frosting works wonderfully, flavored options such as cream cheese or vanilla buttercream can add an exciting contrast to the rich chocolate.
If you’re looking for additional texture, try adding crushed chocolate cookies or chocolate shavings between layers or on top as garnish. This not only enhances visual appeal but also adds another layer of flavor.
For those who prefer a lighter version, consider using Greek yogurt in place of some butter in your batter. This substitution reduces fat while still keeping moisture intact, making your Brooklyn Blackout Cake slightly healthier without sacrificing taste.

FAQs
What is Brooklyn Blackout Cake?
Brooklyn Blackout Cake is a decadent dessert originating from Brooklyn, New York. It features rich chocolate layers filled with chocolate pudding and frosted with dark chocolate icing. The combination creates an indulgent experience that is beloved by chocolate lovers everywhere.
Can I make Brooklyn Blackout Cake ahead of time?
Yes, you can prepare parts of Brooklyn Blackout Cake ahead of time. Bake the layers and store them wrapped tightly in plastic wrap at room temperature for up to two days or freeze them for longer storage. Assemble and frost just before serving for optimal freshness.
What type of cocoa powder should I use?
For Brooklyn Blackout Cake, Dutch-processed cocoa powder works best due to its rich flavor and darker color compared to natural cocoa powder. It provides an intense chocolate taste that enhances the overall quality of this cake.
How do I store leftover Brooklynn Blackout Cake?
Store any leftover Brooklyn Blackout Cake in an airtight container at room temperature if consumed within two days; otherwise refrigerate it for up to one week. Be sure to keep it covered to maintain its moisture and prevent drying out.
Can I customize my Brooklyn Blackout Cake?
Absolutely! You can customize your Brooklyn Blackout Cake by adding different fillings like fruit preserves or flavored whipped cream between layers. Adding coffee or spices like cinnamon can also introduce unique flavors while maintaining that classic chocolate profile.
Is there a gluten-free version of Brooklyn Blackout Cake?
Yes, you can make a gluten-free version by substituting all-purpose flour with gluten-free flour blends specifically designed for baking. Ensure all other ingredients are gluten-free as well for best results without compromising texture or taste.
Summary
In summary, crafting an unforgettable Brooklyn Blackout Cake involves avoiding common mistakes like overbaking and using cold ingredients while employing helpful tips such as using high-quality cocoa powder and allowing flavors to meld through resting time. By considering various suggestions like experimenting with fillings or frostings, you can take this classic dessert to new heights while delighting everyone who enjoys it!